Platform Deployment
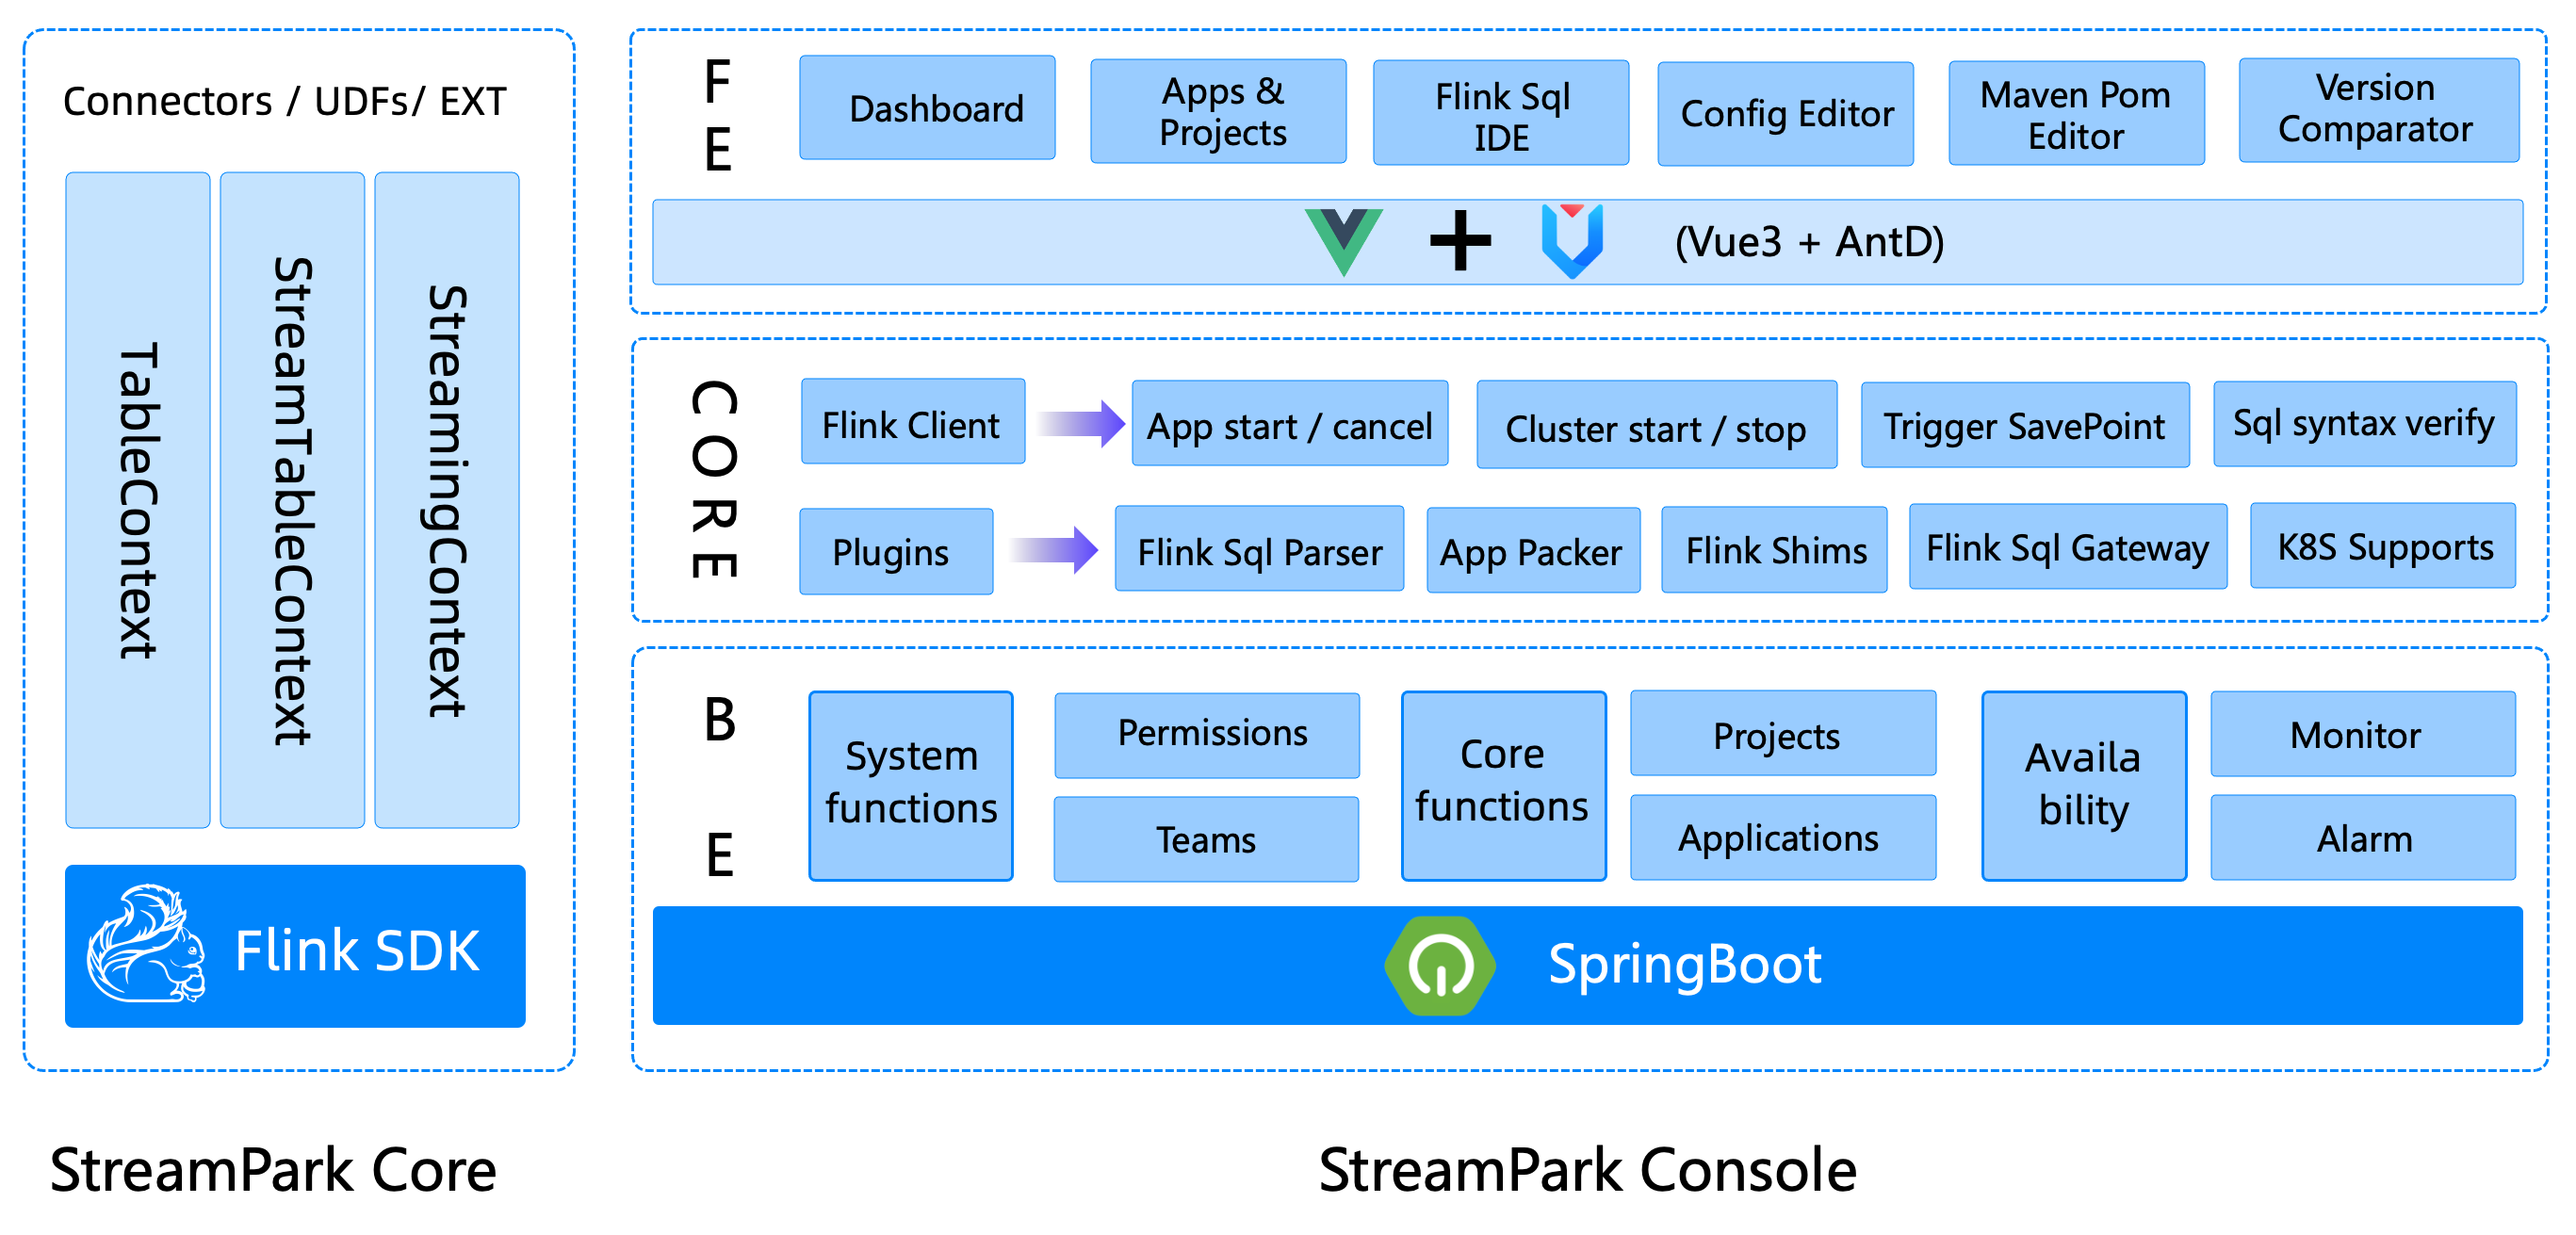
The overall component stack structure of StreamPark consists of two major parts: streampark-core and streampark-console.
streampark-console is positioned as an integrated, real-time data platform, streaming data warehouse Platform, Low Code, Flink & Spark task hosting platform. It can manage Flink tasks better, and integrate project compilation, publishing, parameter configuration, startup, savepoint, flame graph, Flink SQL, monitoring and many other functions, which greatly simplifies the daily operation and maintenance of Flink tasks and integrates many best practices.
The goal is to create a one-stop big data solution that integrates real-time data warehouses and batches.
streampark-console provides an out-of-the-box installation package. Before installation, make sure these requirements for the environment are in place:
Environmental requirements
| Item | Version | Required | Other |
| OS | Linux | UnSupport Windows | |
| JAVA | 1.8+ | ||
| MySQL | 5.6+ | ||
| Flink | 1.12.0+ | Flink version >= 1.12 | |
| Hadoop | 2+ | Optional, If on yarn, hadoop envs is required. |
StreamPark has released tasks for Flink, and supports both Flink on YARN and Flink on Kubernetes modes.
Hadoop
To use Flink on YARN, install and configure Hadoop-related environment variables in the deployed cluster. For example, if you installed the hadoop environment based on CDH, related environment variables can refer to the following configuration:
export HADOOP_HOME=/opt/cloudera/parcels/CDH/lib/hadoop #hadoop installation manual
export HADOOP_CONF_DIR=/etc/hadoop/conf
export HIVE_HOME=$HADOOP_HOME/../hive
export HBASE_HOME=$HADOOP_HOME/../hbase
export HADOOP_HDFS_HOME=$HADOOP_HOME/../hadoop-hdfs
export HADOOP_MAPRED_HOME=$HADOOP_HOME/../hadoop-mapreduce
export HADOOP_YARN_HOME=$HADOOP_HOME/../hadoop-yarn
Kubernetes
Using Flink on Kubernetes requires additional deployment or use of an existing Kubernetes cluster. Refer to the entry: StreamPark Flink-K8s Integration Support.
Build & Deploy
You can directly download the compiled release package (recommended), or you can manually compile and install. The manual compilation and installation steps are as follows:
Environmental requirements
- Maven 3.6+
- npm 7.11.2 ( https://nodejs.org/en/ )
- pnpm (npm install -g pnpm)
- JDK 1.8+
install streampark
download streampark release package, unpacking it as follows:
.
streampark-console-service-2.0.0
├── bin
│    ├── startup.sh                           //startup script
│    ├── setclasspath.sh                      //Scripts related to Java environment variables (internal use, users do not need to pay attention)
│    ├── shutdown.sh                          //stop script
│    ├── yaml.sh                              //Internally uses a script that parses yaml parameters (for internal use, users don't need to pay attention)
├── conf
│    ├── application.yaml                     //Project configuration file (do NOT change the name)
│    ├── flink-application.template           //flink configuration template (for internal use, users don't need to pay attention)
│    ├── logback-spring.xml                   //logback
│    └── ...
├── lib
│    └── *.jar                                //Project jar package
├── client
│    └── streampark-flink-sqlclient-2.0.0.jar    //Flink SQl submit related functions (for internal use, users do not need to pay attention)
├── script
│     ├── schema
│     │      ├── mysql-schema.sql            // mysql ddl
│     │      └── pgsql-schema.sql            // pgsql ddl
│     ├── data
│     │      ├── mysql-data.sql              // mysql init data
│     │      └── pgsql-data.sql              // pgsql init data
│     ├── upgrade
│     │      ├── 1.2.3.sql                   // 1.2.3 upgrade sql
│     │      └── 2.0.0.sql                   // 2.0.0 upgrade sql
│     │      ...
├── logs                                     // log dir
├── temp                                     // temp dir, don't remove
Initialize table structure
In the installation process of versions before 1.2.1, there is no need to manually initialize data. Just set the database information, and some column operations such as table creation and data initialization will be automatically completed. For versions 1.2.1 and newer, automatic table creation and upgrade requires the user to manually execute ddl for initialization. The ddl description is as follows:
├── script
│     ├── schema
│     │      ├── mysql-schema.sql            // mysql ddl
│     │      └── pgsql-schema.sql            // pgsql ddl
│     ├── data
│     │      ├── mysql-data.sql              // mysql init data
│     │      └── pgsql-data.sql              // pgsql init data
│     ├── upgrade
│     │      ├── 1.2.3.sql                   // 1.2.3 upgrade sql
│     │      └── 2.0.0.sql                   // 2.0.0 upgrade sql
│     │      ...
├── logs                                     // log dir
├── temp                                     // temp dir, don't remove
For the first installation of streampark, you need to connect to the corresponding database client to execute the scripts under the schema and data directories in sequence. If it is an upgrade, execute under upgrade sql file of the corresponding version number.
Modify the configuration
Once installation and unpacking have been completed, the next step is to prepare the data-related work.
Create a new database streampark
Make sure to create a new database streampark in mysql that the deployment machine can connect to.
Modify connection information
Go to conf, modify conf/application.yml, find the spring item, find the profiles.active configuration, and modify it to the corresponding information, as follows:
spring:
  profiles.active: mysql #[h2,pgsql,mysql]
  application.name: StreamPark
  devtools.restart.enabled: false
  mvc.pathmatch.matching-strategy: ant_path_matcher
  servlet:
    multipart:
      enabled: true
      max-file-size: 500MB
      max-request-size: 500MB
  aop.proxy-target-class: true
  messages.encoding: utf-8
  jackson:
    date-format: yyyy-MM-dd HH:mm:ss
    time-zone: GMT+8
  main:
    allow-circular-references: true
    banner-mode: off
After you have modified conf/application.yml, modify config/application-mysql.yml to change the config information of the database as follows:
Tips: Because of license incompatibility between the Apache project and the mysql jdbc driver, download the mysql jdbc driver yourself and put it in $STREAMPARK_HOME/lib.
spring:
  datasource:
    username: root
    password: xxxx
    driver-class-name: com.mysql.cj.jdbc.Driver
    url: jdbc:mysql://localhost:3306/streampark?useSSL=false&useUnicode=true&characterEncoding=UTF-8&allowPublicKeyRetrieval=false&useJDBCCompliantTimezoneShift=true&useLegacyDatetimeCode=false&serverTimezone=GMT%2B8
Modify workspace
Go to conf, modify conf/application.yml, find the item streampark, find the workspace configuration, and change it to a directory that the user has permissions to work with.
streampark:
  # HADOOP_USER_NAME If it is on yarn mode ( yarn-prejob | yarn-application | yarn-session), you need to configure hadoop-user-name
  hadoop-user-name: hdfs
  # Local workspace, used to store project source code, build directory, etc.
  workspace:
    local: /opt/streampark_workspace # A local workspace directory (very important). Users can change the directory by themselves, it is recommended to put it in other places separately to store the project source code, the built directory, etc.
    remote: hdfs:///streampark   # support hdfs:///streampark/ 、 /streampark 、hdfs://host:ip/streampark/
Start
Enter bin and directly execute startup.sh to start the project. The default port is 10000. If there is no error, it will start successfully
cd streampark-console-service-2.0.0/bin
bash startup.sh
Relevant logs will be output to streampark-console-service-1.0.0/logs/streampark.out
login system
After the above steps, even if the deployment is completed, you can directly log in to the system:
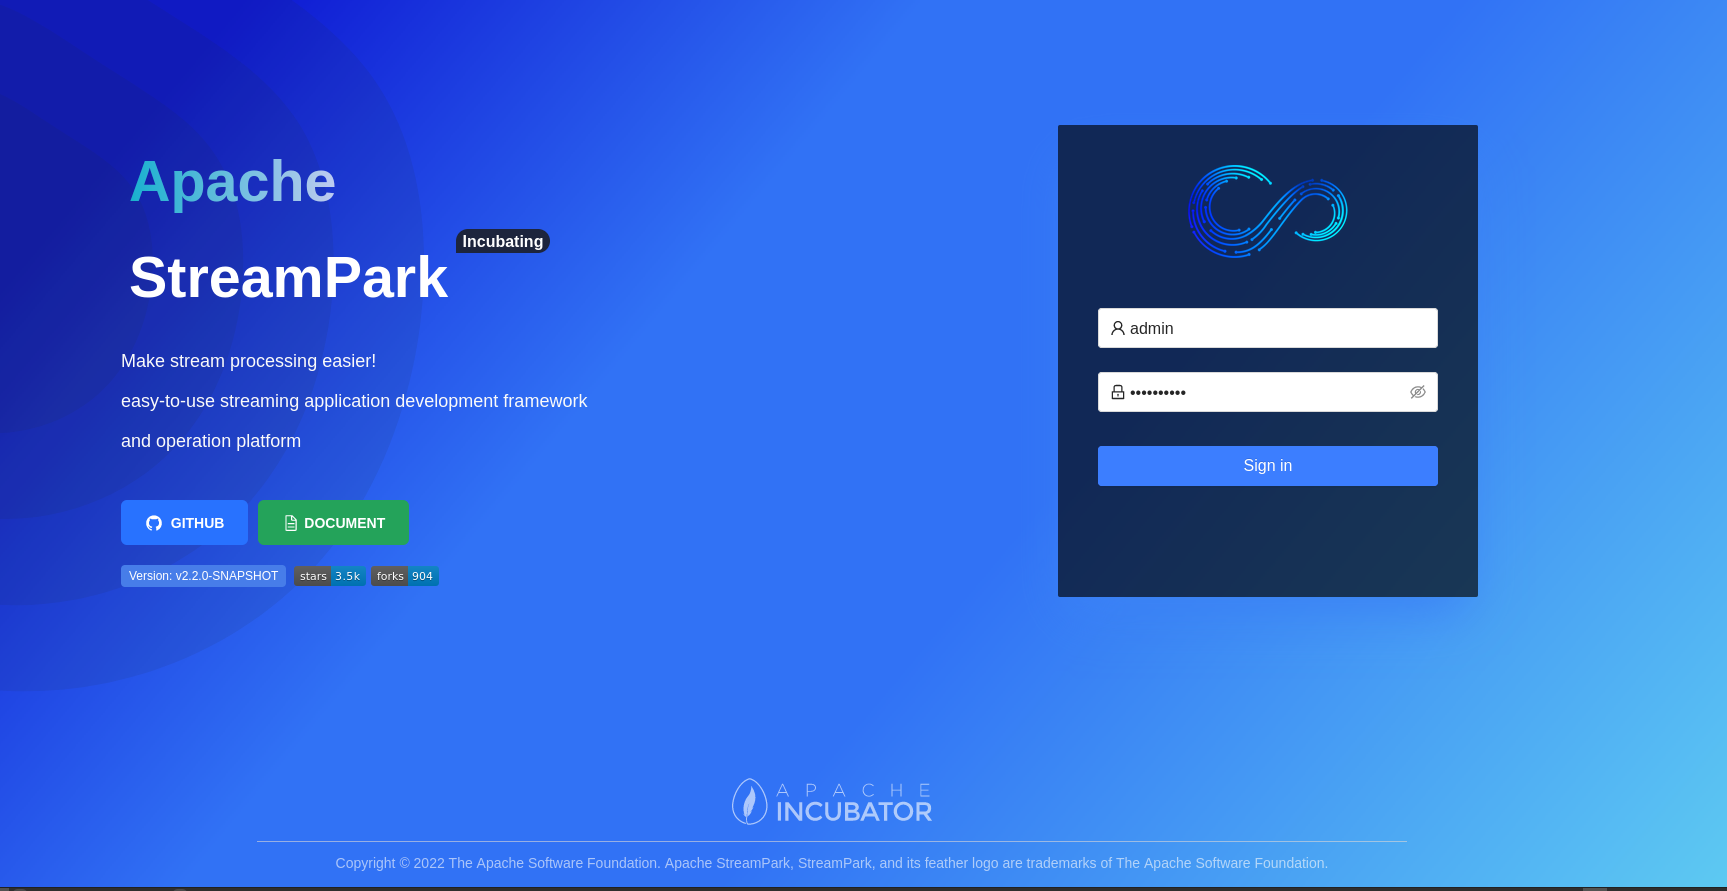
Default password: admin / streampark
System Configuration
After you enter the system, the first thing to do is to modify the system configuration. Under the menu/StreamPark/Setting, the operation interface is as follows:
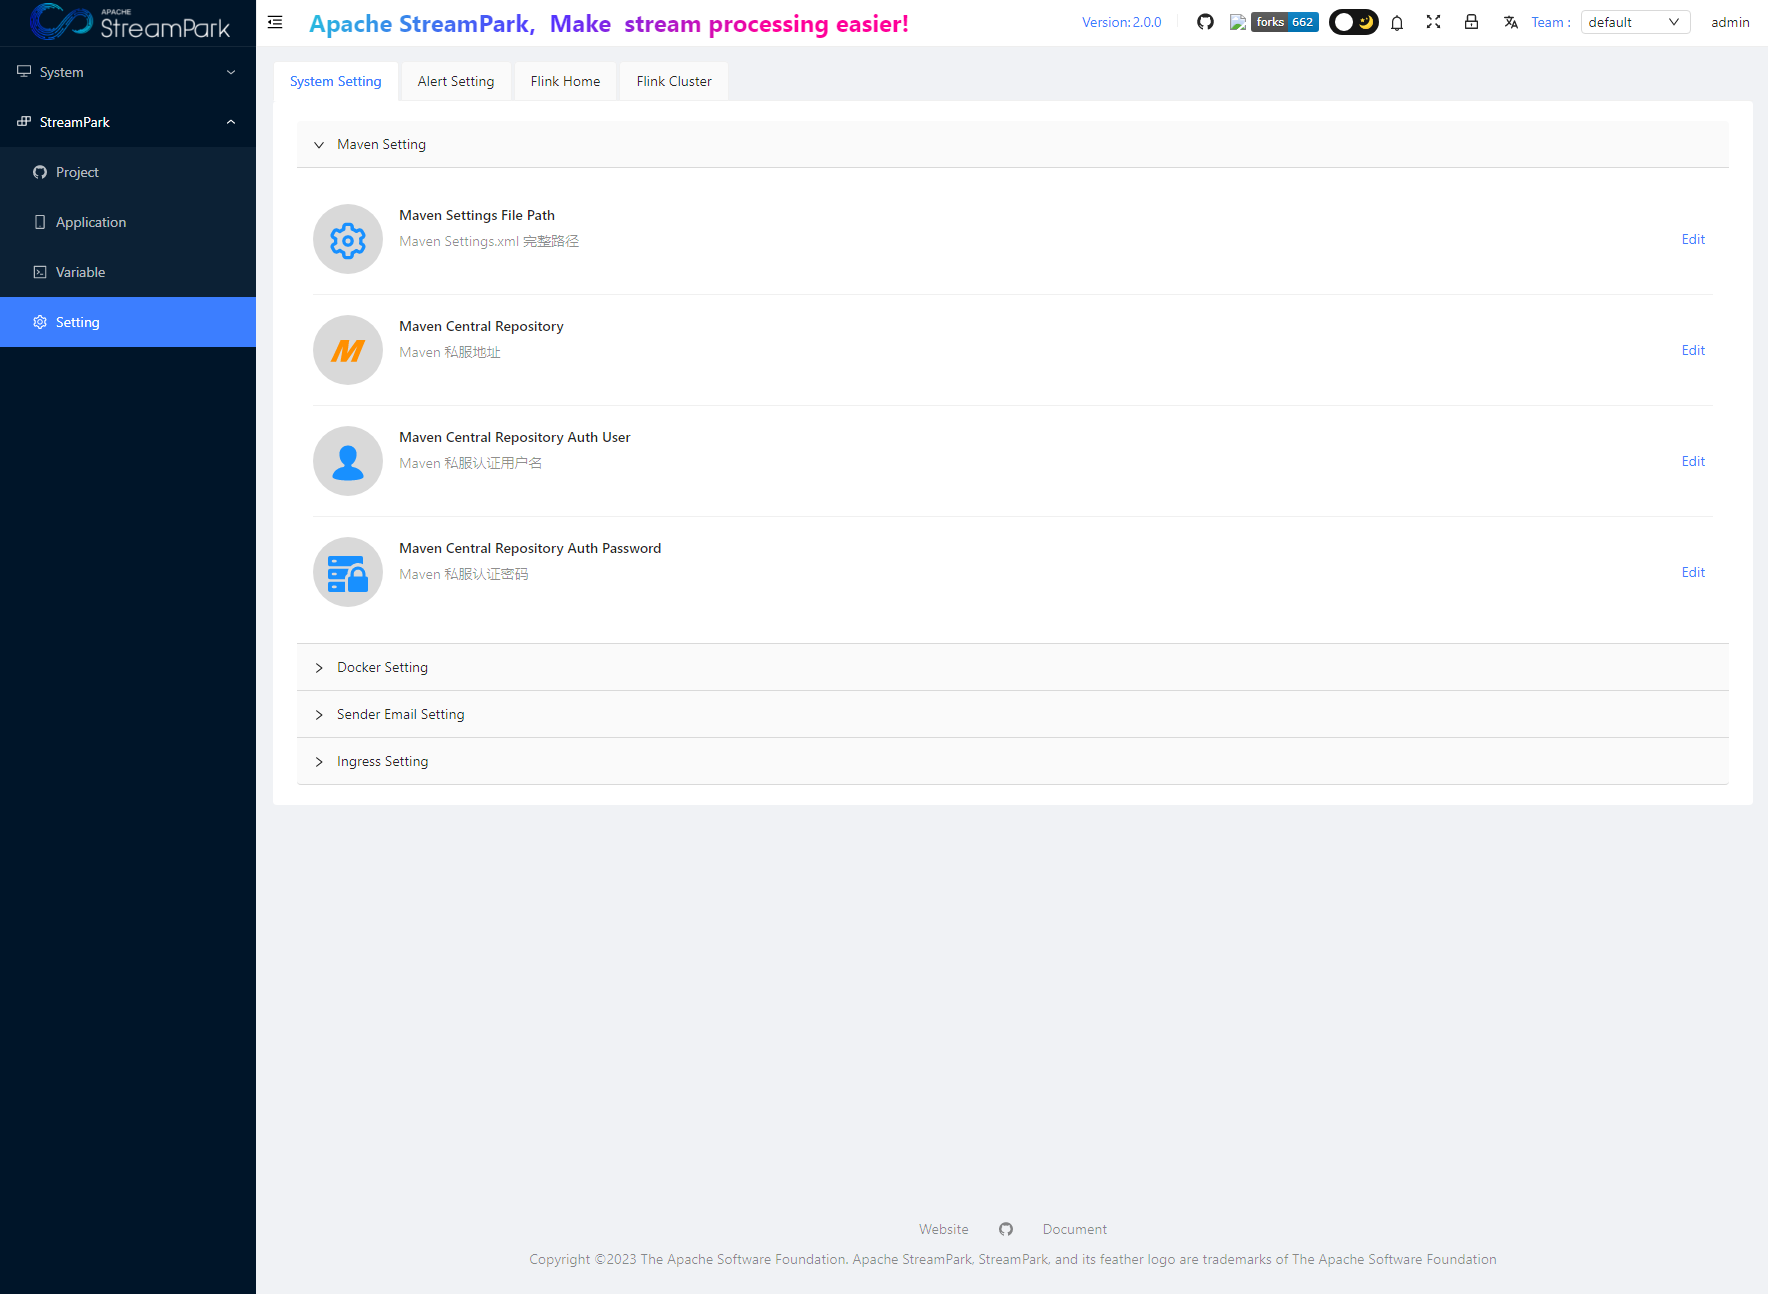
The main configuration items are divided into the following categories:
- System Setting
- Alert Setting
- Flink Home
- Flink Cluster
System Settings
The current system configuration includes:
- Maven Settings
- Docker Settings
- Sender Email Settings
- Ingress Settings
Alert Settings
The configuration related to Alert Email is to configure the information for the sender's email. For the specific configuration, refer to the relevant mailbox information and documents.
Flink Home
The global Flink Home is configured here. This is the only place in the system where you specify the Flink environment, which will apply to all jobs.
Special Note: The minimum supported Flink version is 1.12.0, and later versions are supported.
Flink Cluster
The cluster modes currently supported by Flink include:
- Standalone
- Yarn Session
- Kubernetes Session