Quick Start
To quickly get started with StreamPark, you can either install and deploy with one click or install and deploy manually.
1. One-Click Installation
To install StreamPark with one click, simply copy the following command:
curl -L https://streampark.apache.org/quickstart.sh | sh
If you see the following message, it means the installation and deployment were successful:
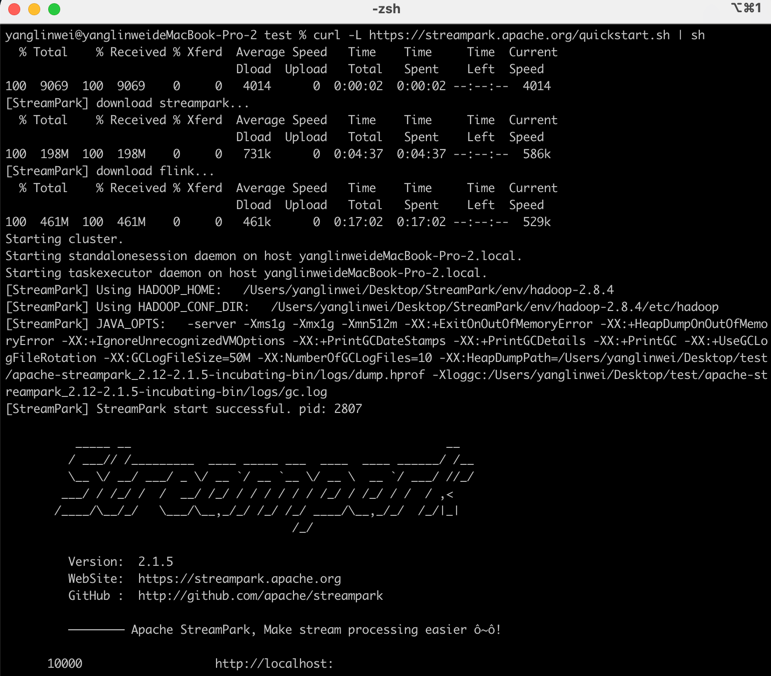
The script has already installed StreamPark and the Flink cluster for you. You can log in directly to start jobs.
After logging in, click "Start" to begin the default job.
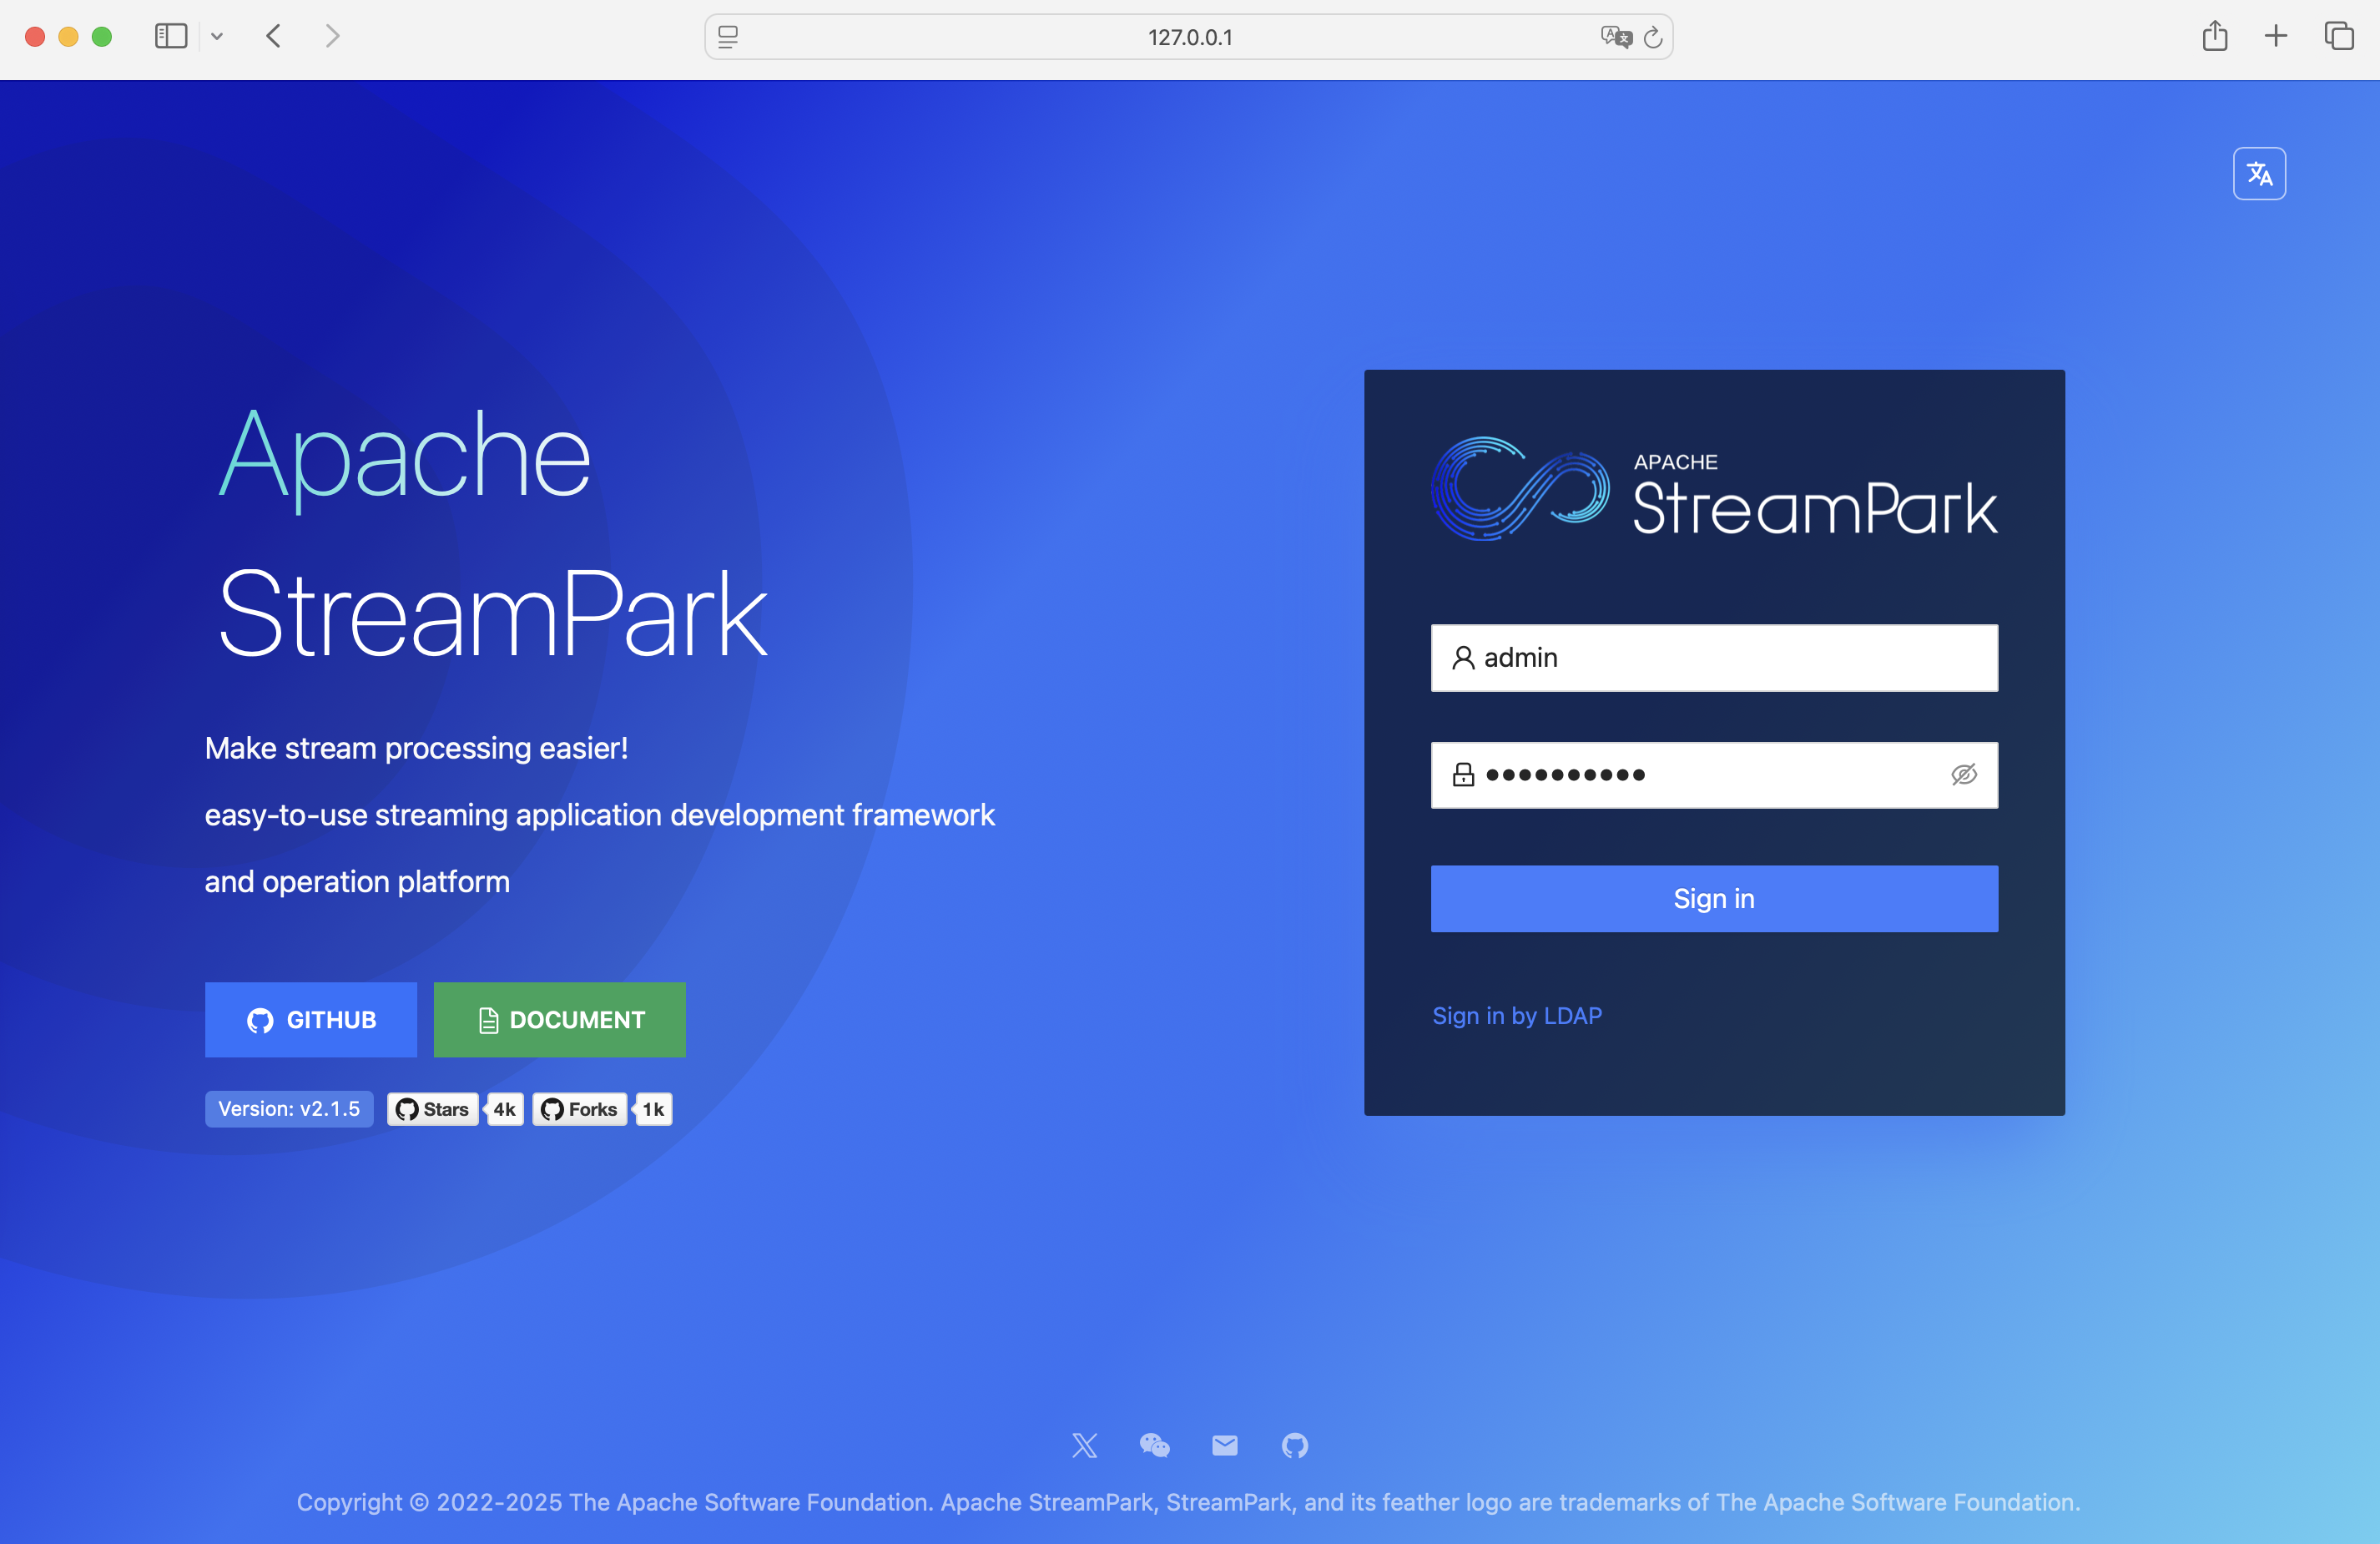
Login URL: http://127.0.0.1:8081, login credentials:
admin/streampark
2. Manual Installation
Follow these three steps to quickly get started with StreamPark:
- Step 1: Environment Setup
- Step 2: StreamPark Installation
- Step 3: Deploy Job
2.1 Environment Setup
| Material | Version Requirement | Demo Version (For Reference Only) |
| Operating System | Linux/MacOS | MacOS |
| Java | JDK version >=1.8 | 1.8.0_362 |
| Scala | Scala version >=2.12 | 2.12.18 |
| Flink | Flink version >= 1.12 | 1.19.0 |
| StreamPark Package | Any version | 2.1.5 |
Note: The default user should already have JDK and Scala installed locally.
2.2 StreamPark Installation
First, download the latest version of StreamPark from the official website. The version used in this article is 2.1.5, download link: https://streampark.apache.org/download
After downloading, extract it to a local directory and navigate to the bin directory to start StreamPark. The relevant scripts are as follows:
# Extract the StreamPark installation package.
tar -zxvf apache-streampark_2.12-2.1.5-incubating-bin.tar.gz

# Start StreamPark.
cd apache-streampark_2.12-2.1.5-incubating-bin/bin
./startup.sh
After a successful start, the interface will look like this:
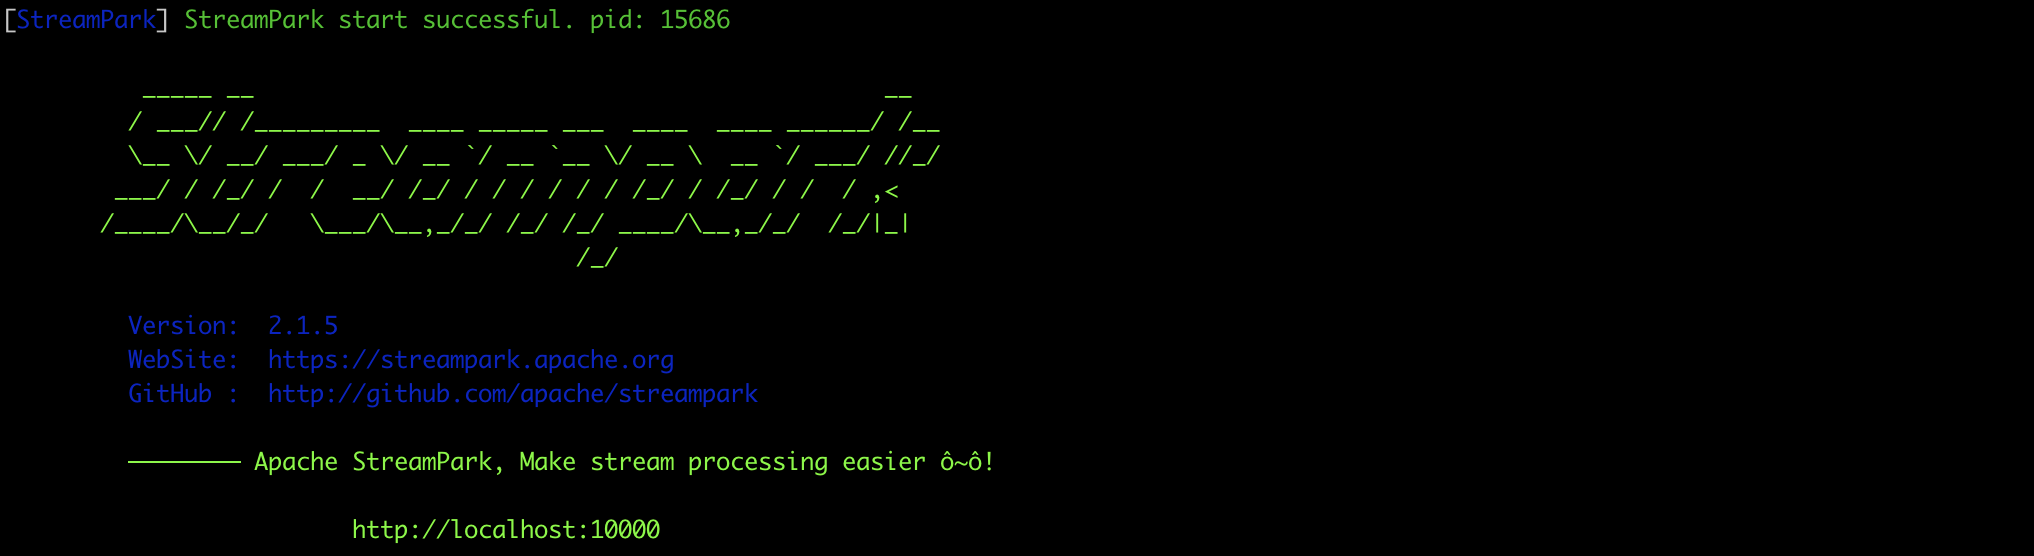
Log in to StreamPark at: http://127.0.0.1:10000
Username and password: admin/streampark
2.3 Deploy Job
After logging into the system for the first time, you will notice that a default FlinkSQL job has already been created. To better demonstrate, this article uses the Standalone mode to run the job. Before doing that, you need to configure the Flink version and associate the Flink cluster.
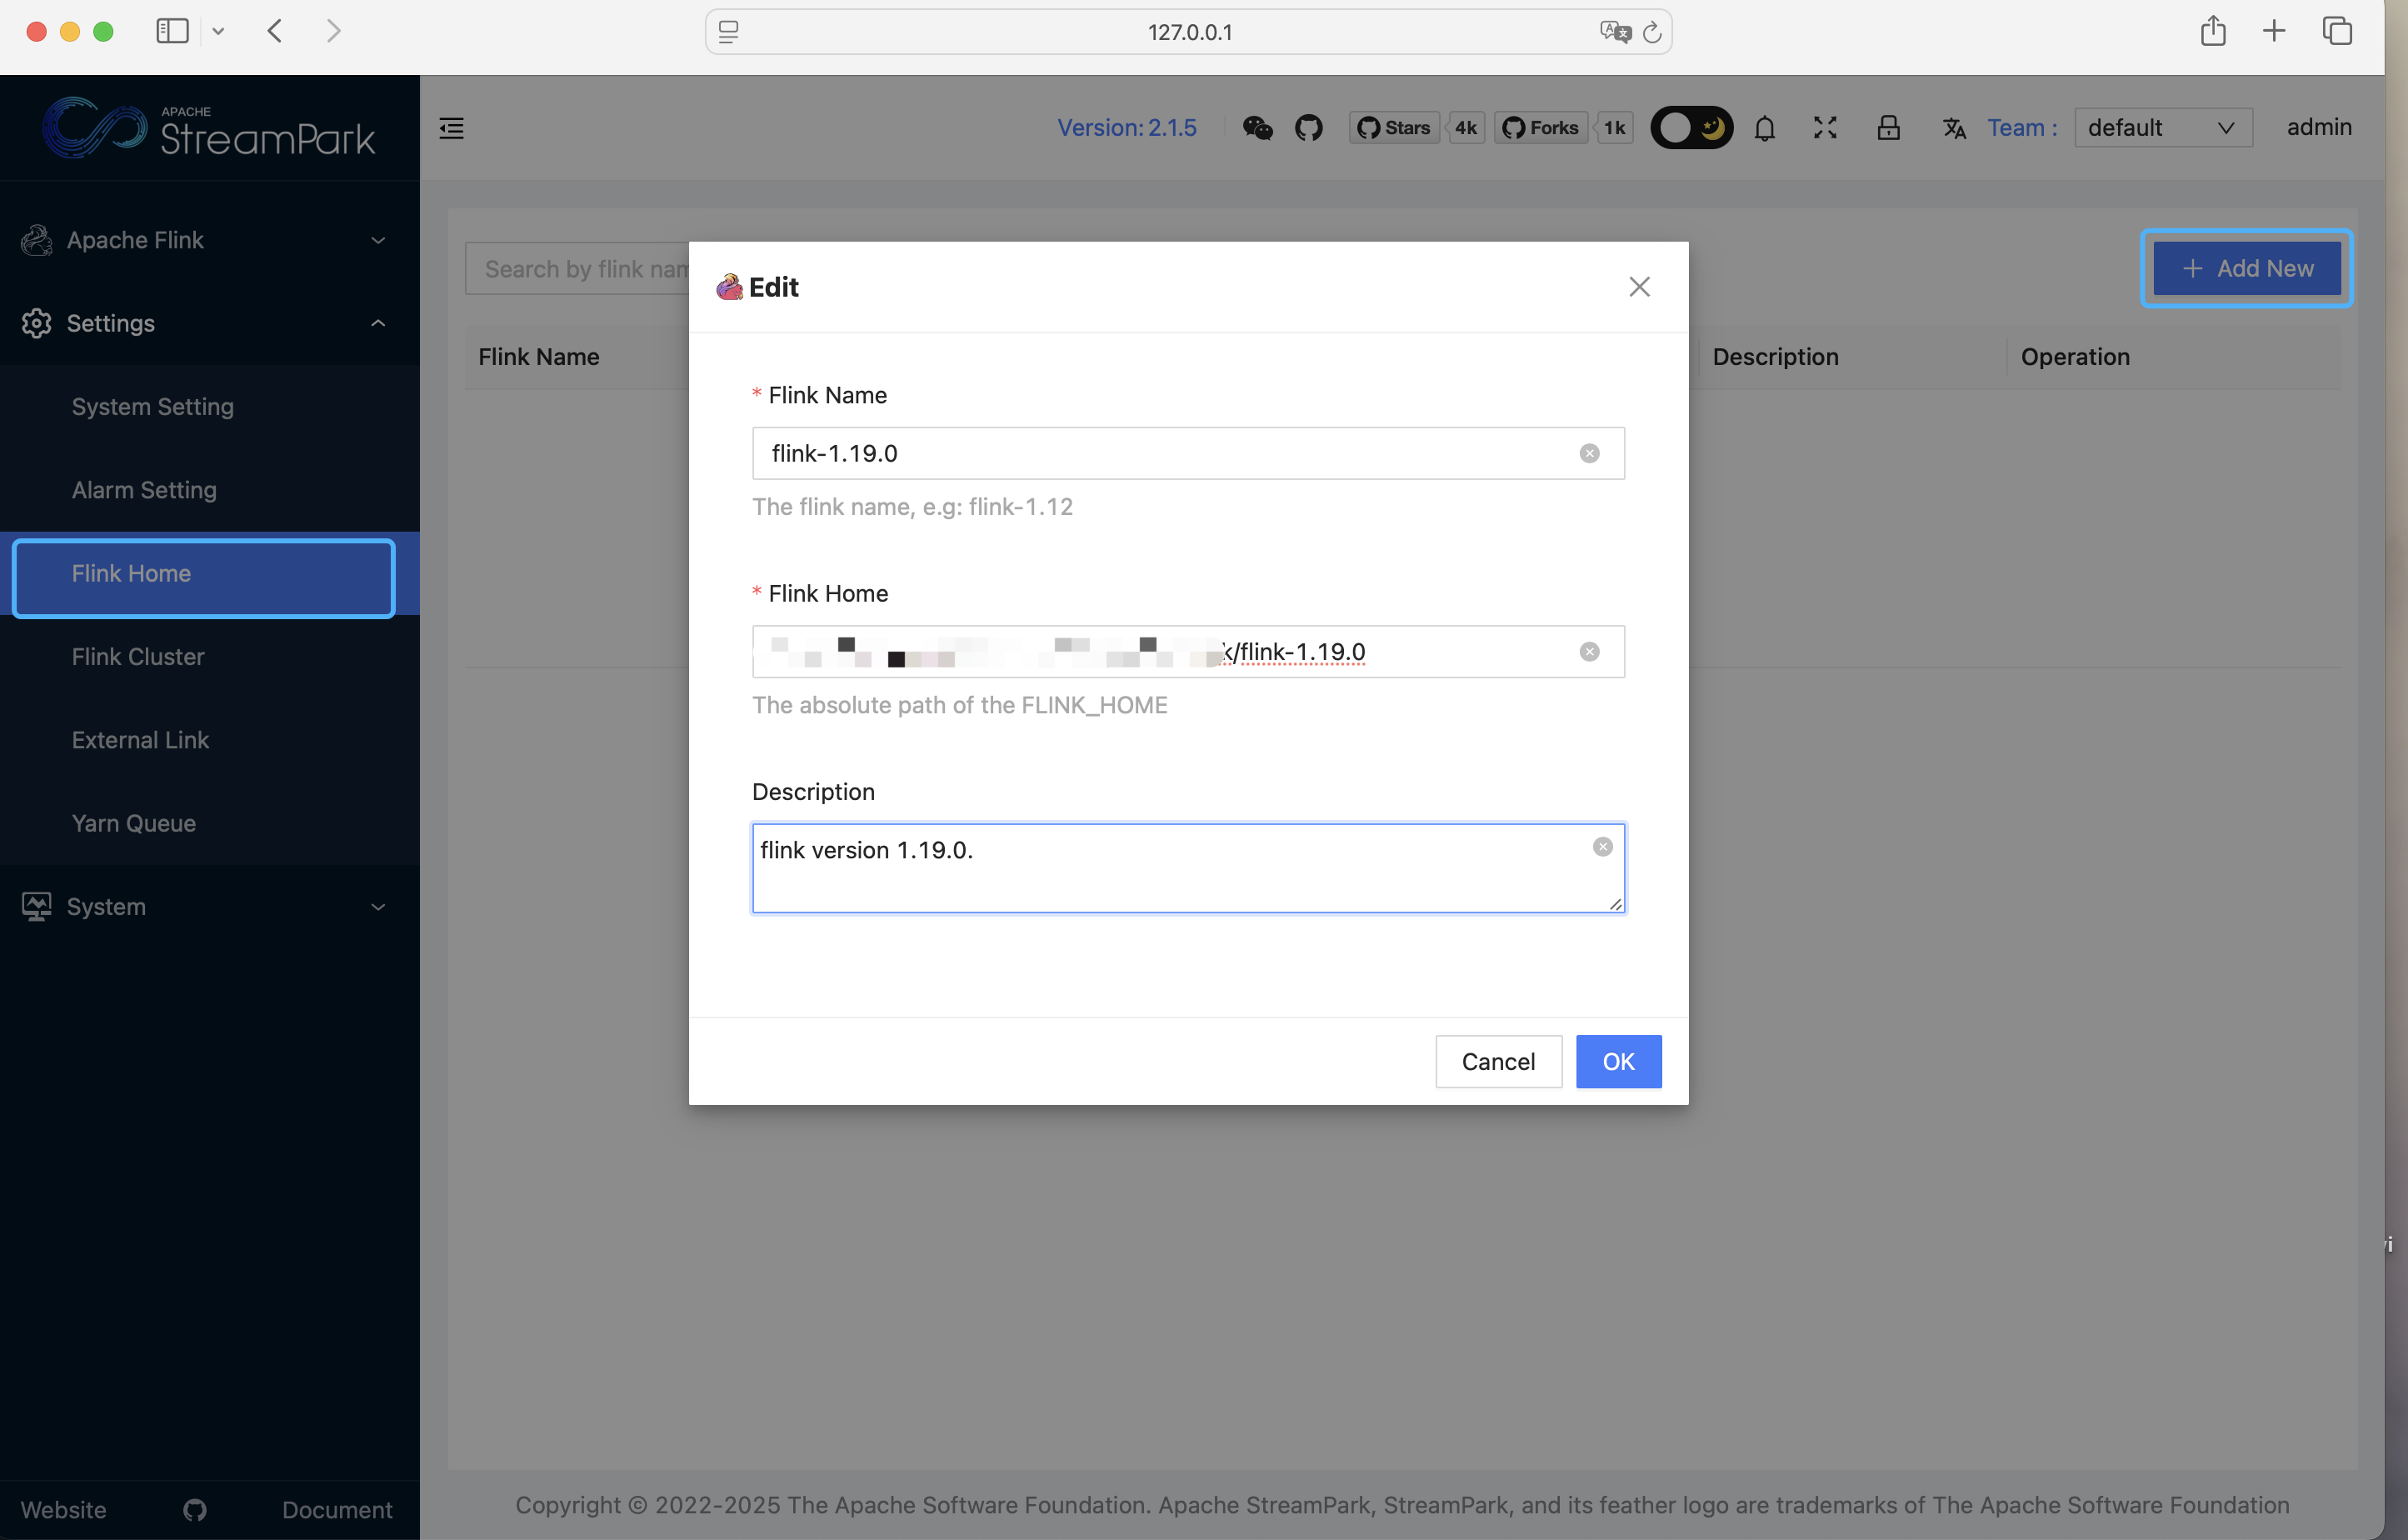
2.3.1 Configure Flink Version
The Flink installation package must be on the same server as the StreamPark service.
First, configure the Flink version by specifying the path to your local Flink extraction directory. Follow these steps: Settings Center → Flink Version → New
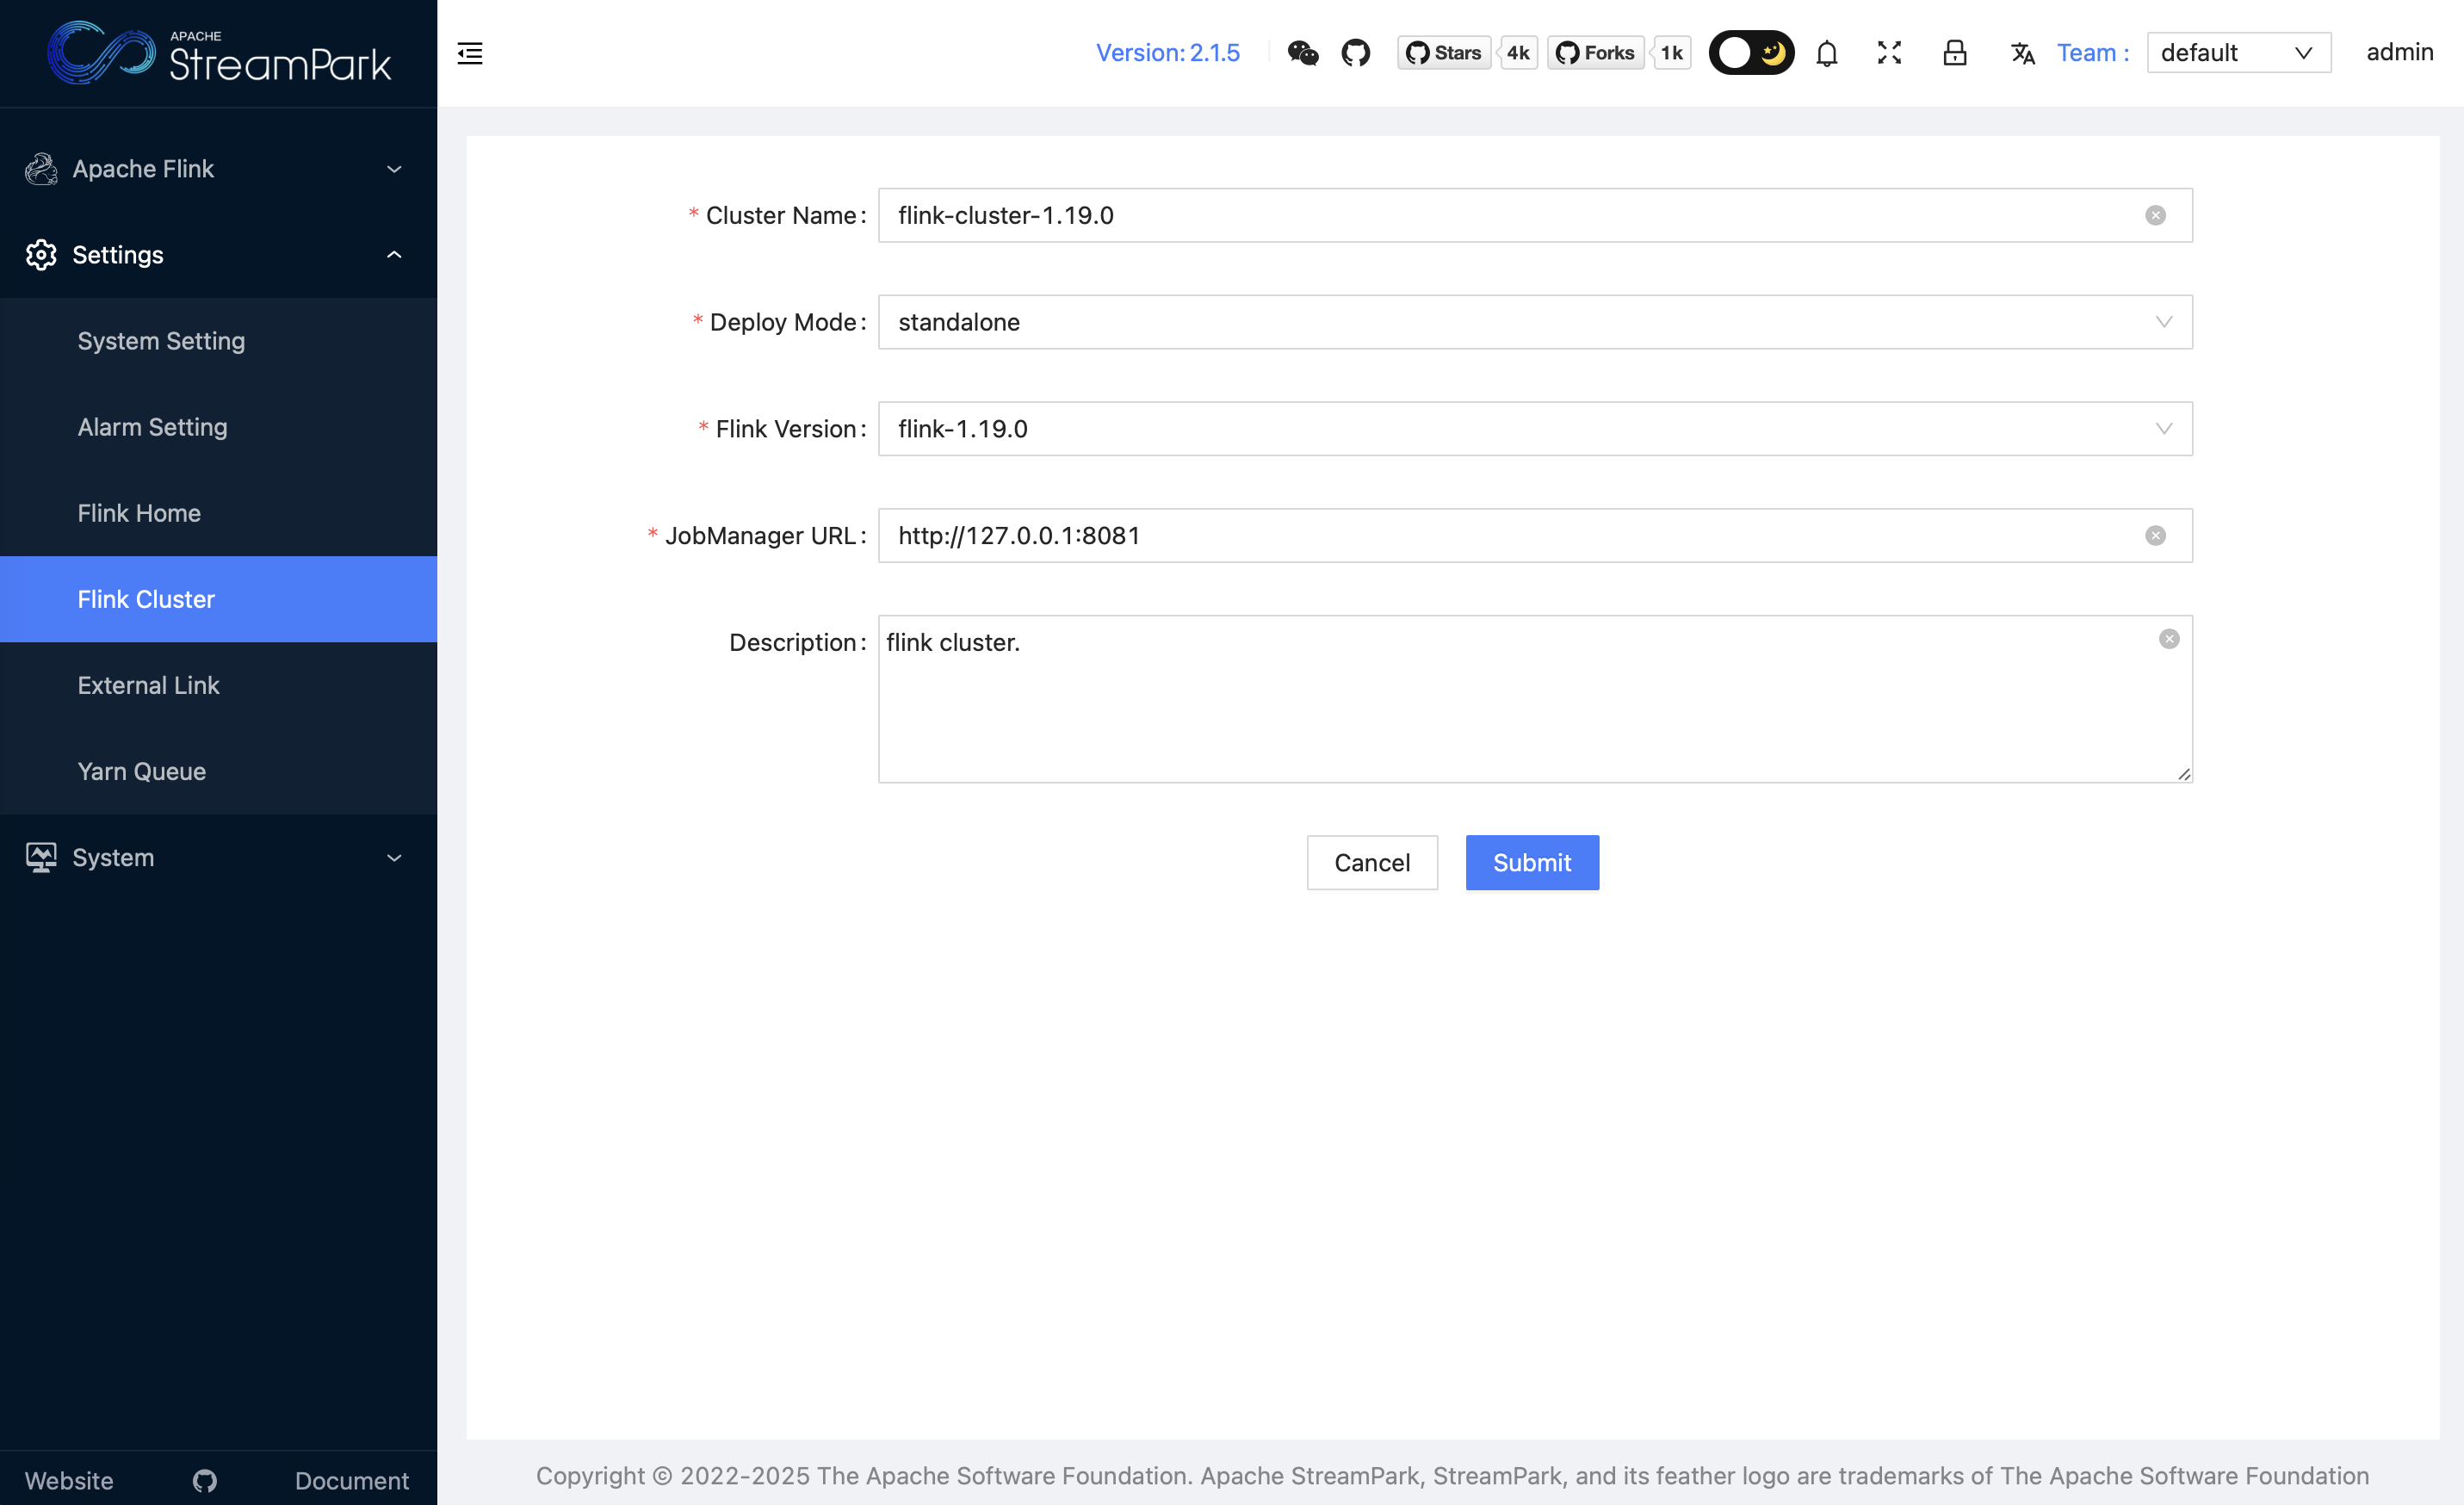
2.3.2 Configure Flink Cluster
Ensure that your local Flink cluster is already started (just navigate to the Flink extraction directory’s bin directory and run ./start-cluster.sh).
Associate the Flink cluster by clicking: Settings Center → Flink Cluster → Add
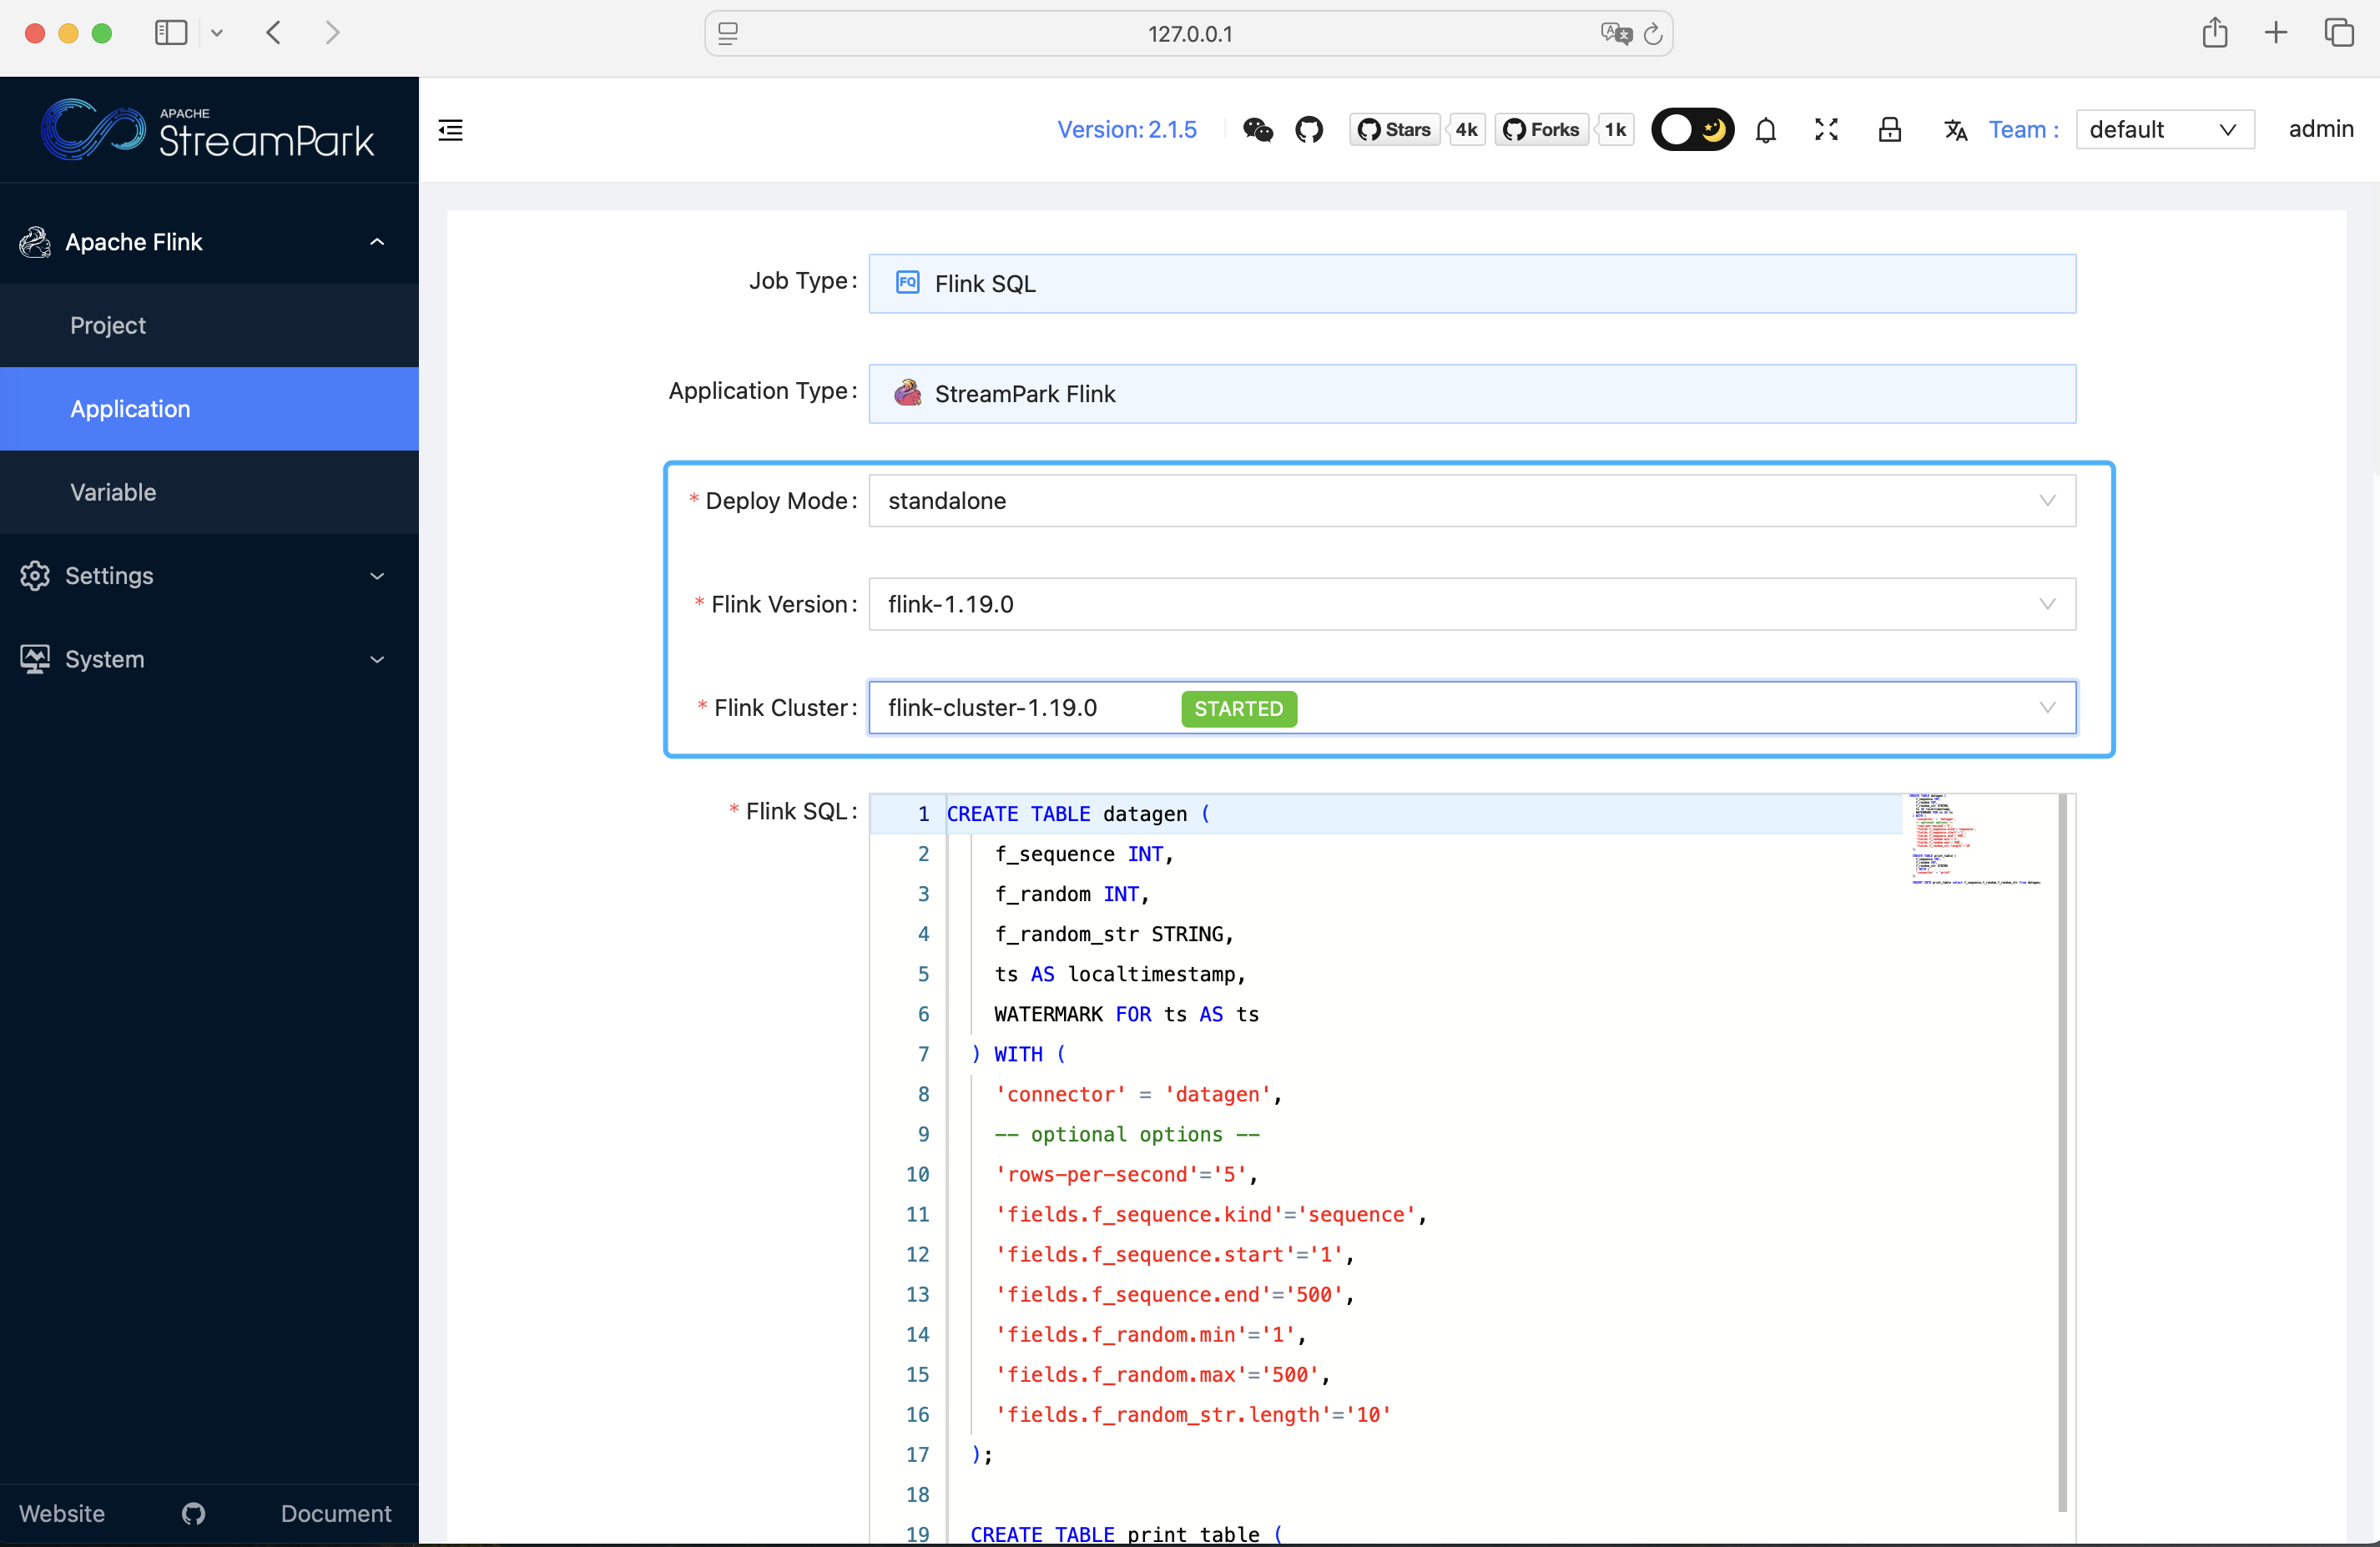
2.3.3 Configure Job
Click on Job Configuration to enter the job configuration page:

Simply modify the deployment mode, Flink version, and Flink cluster, then save it:
Click "Release":
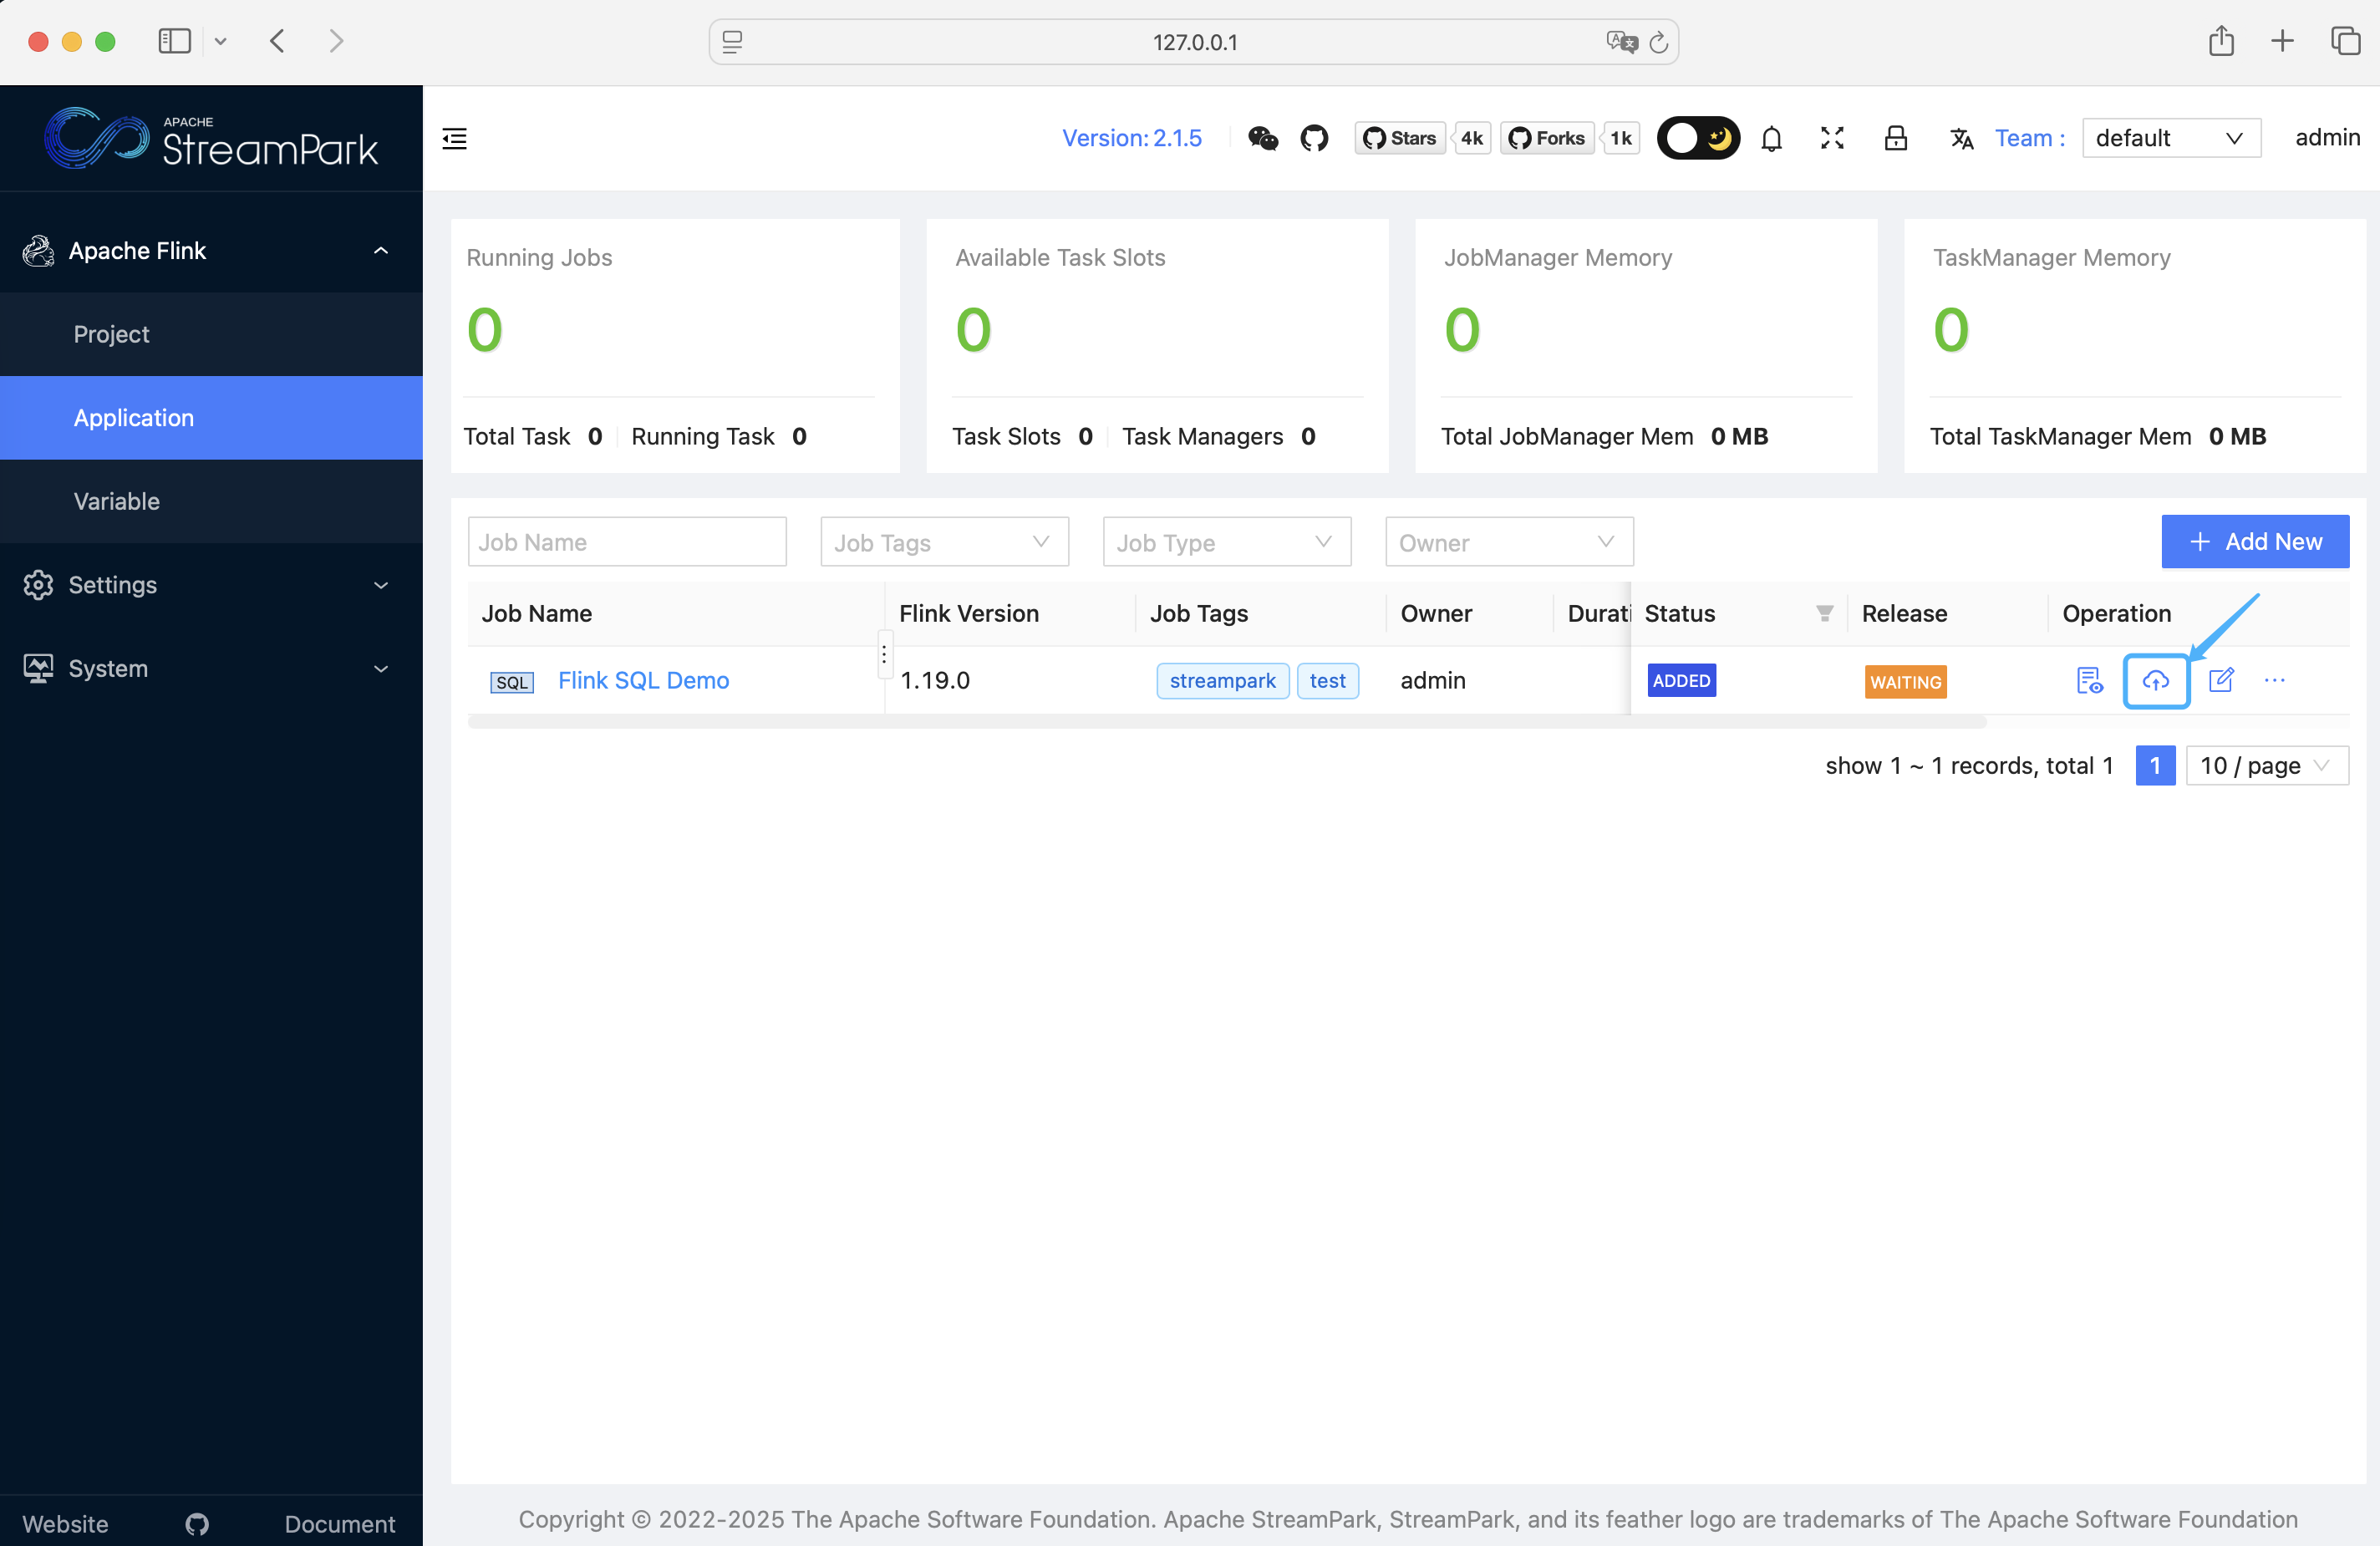
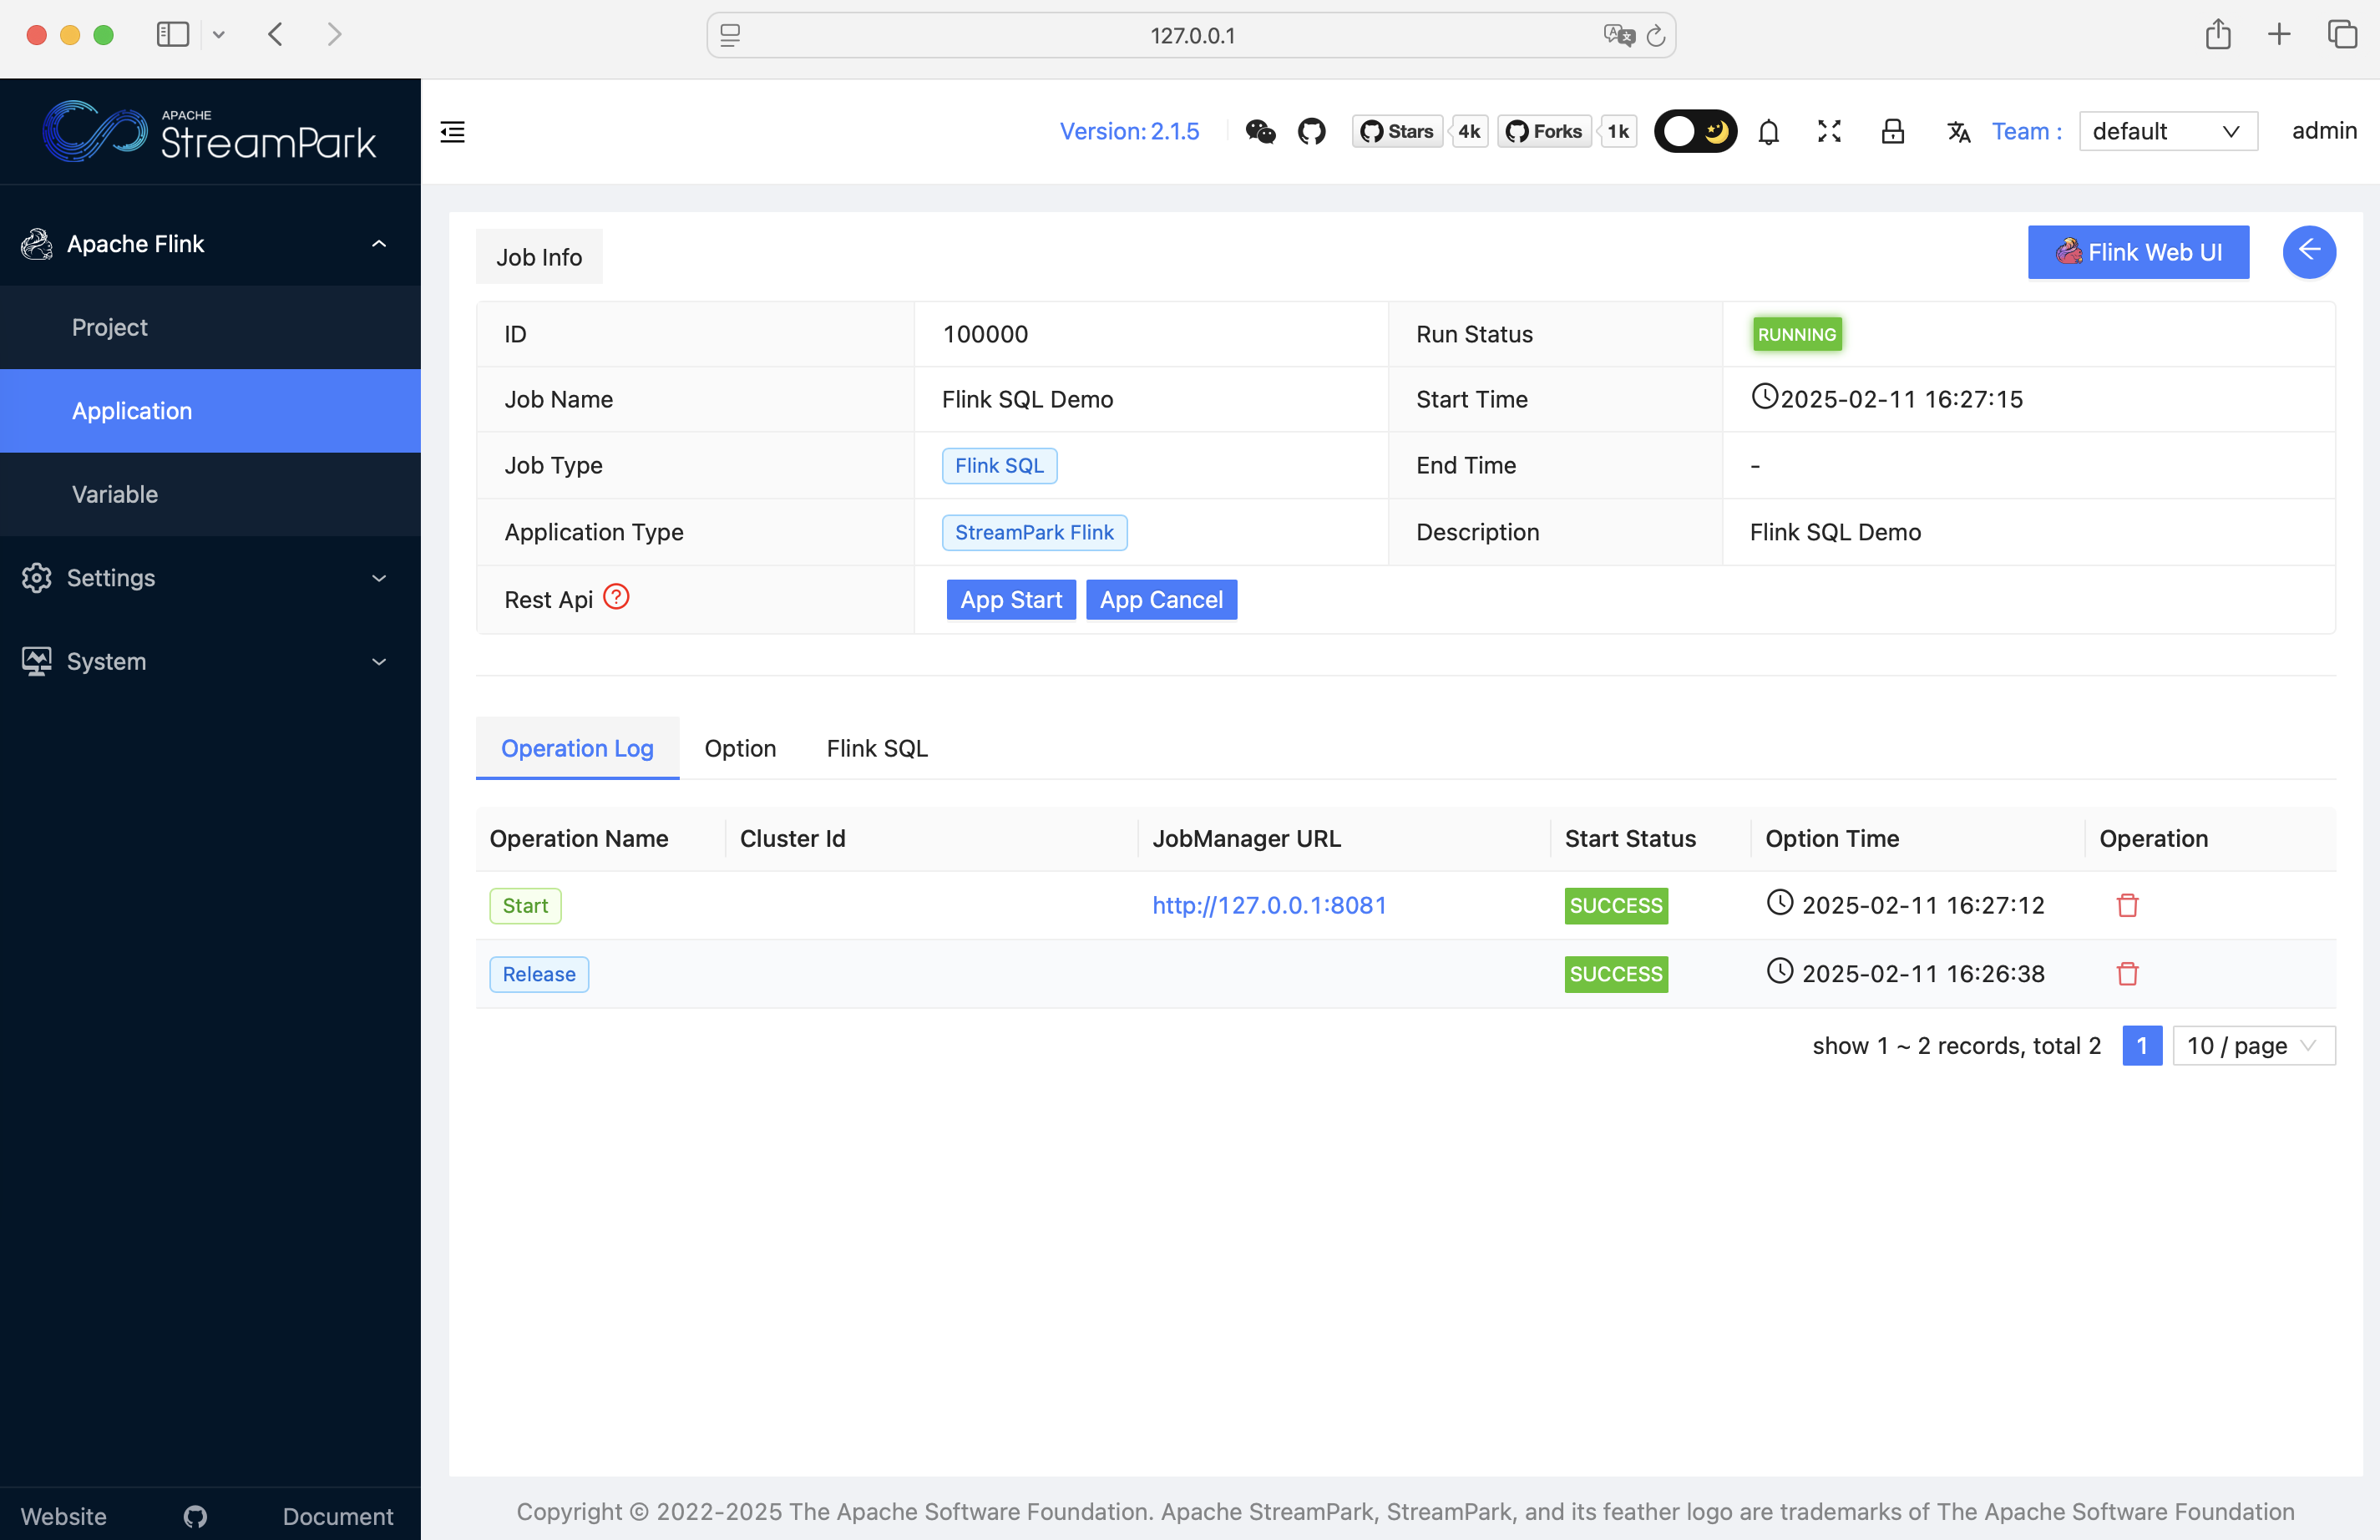
Start the job:

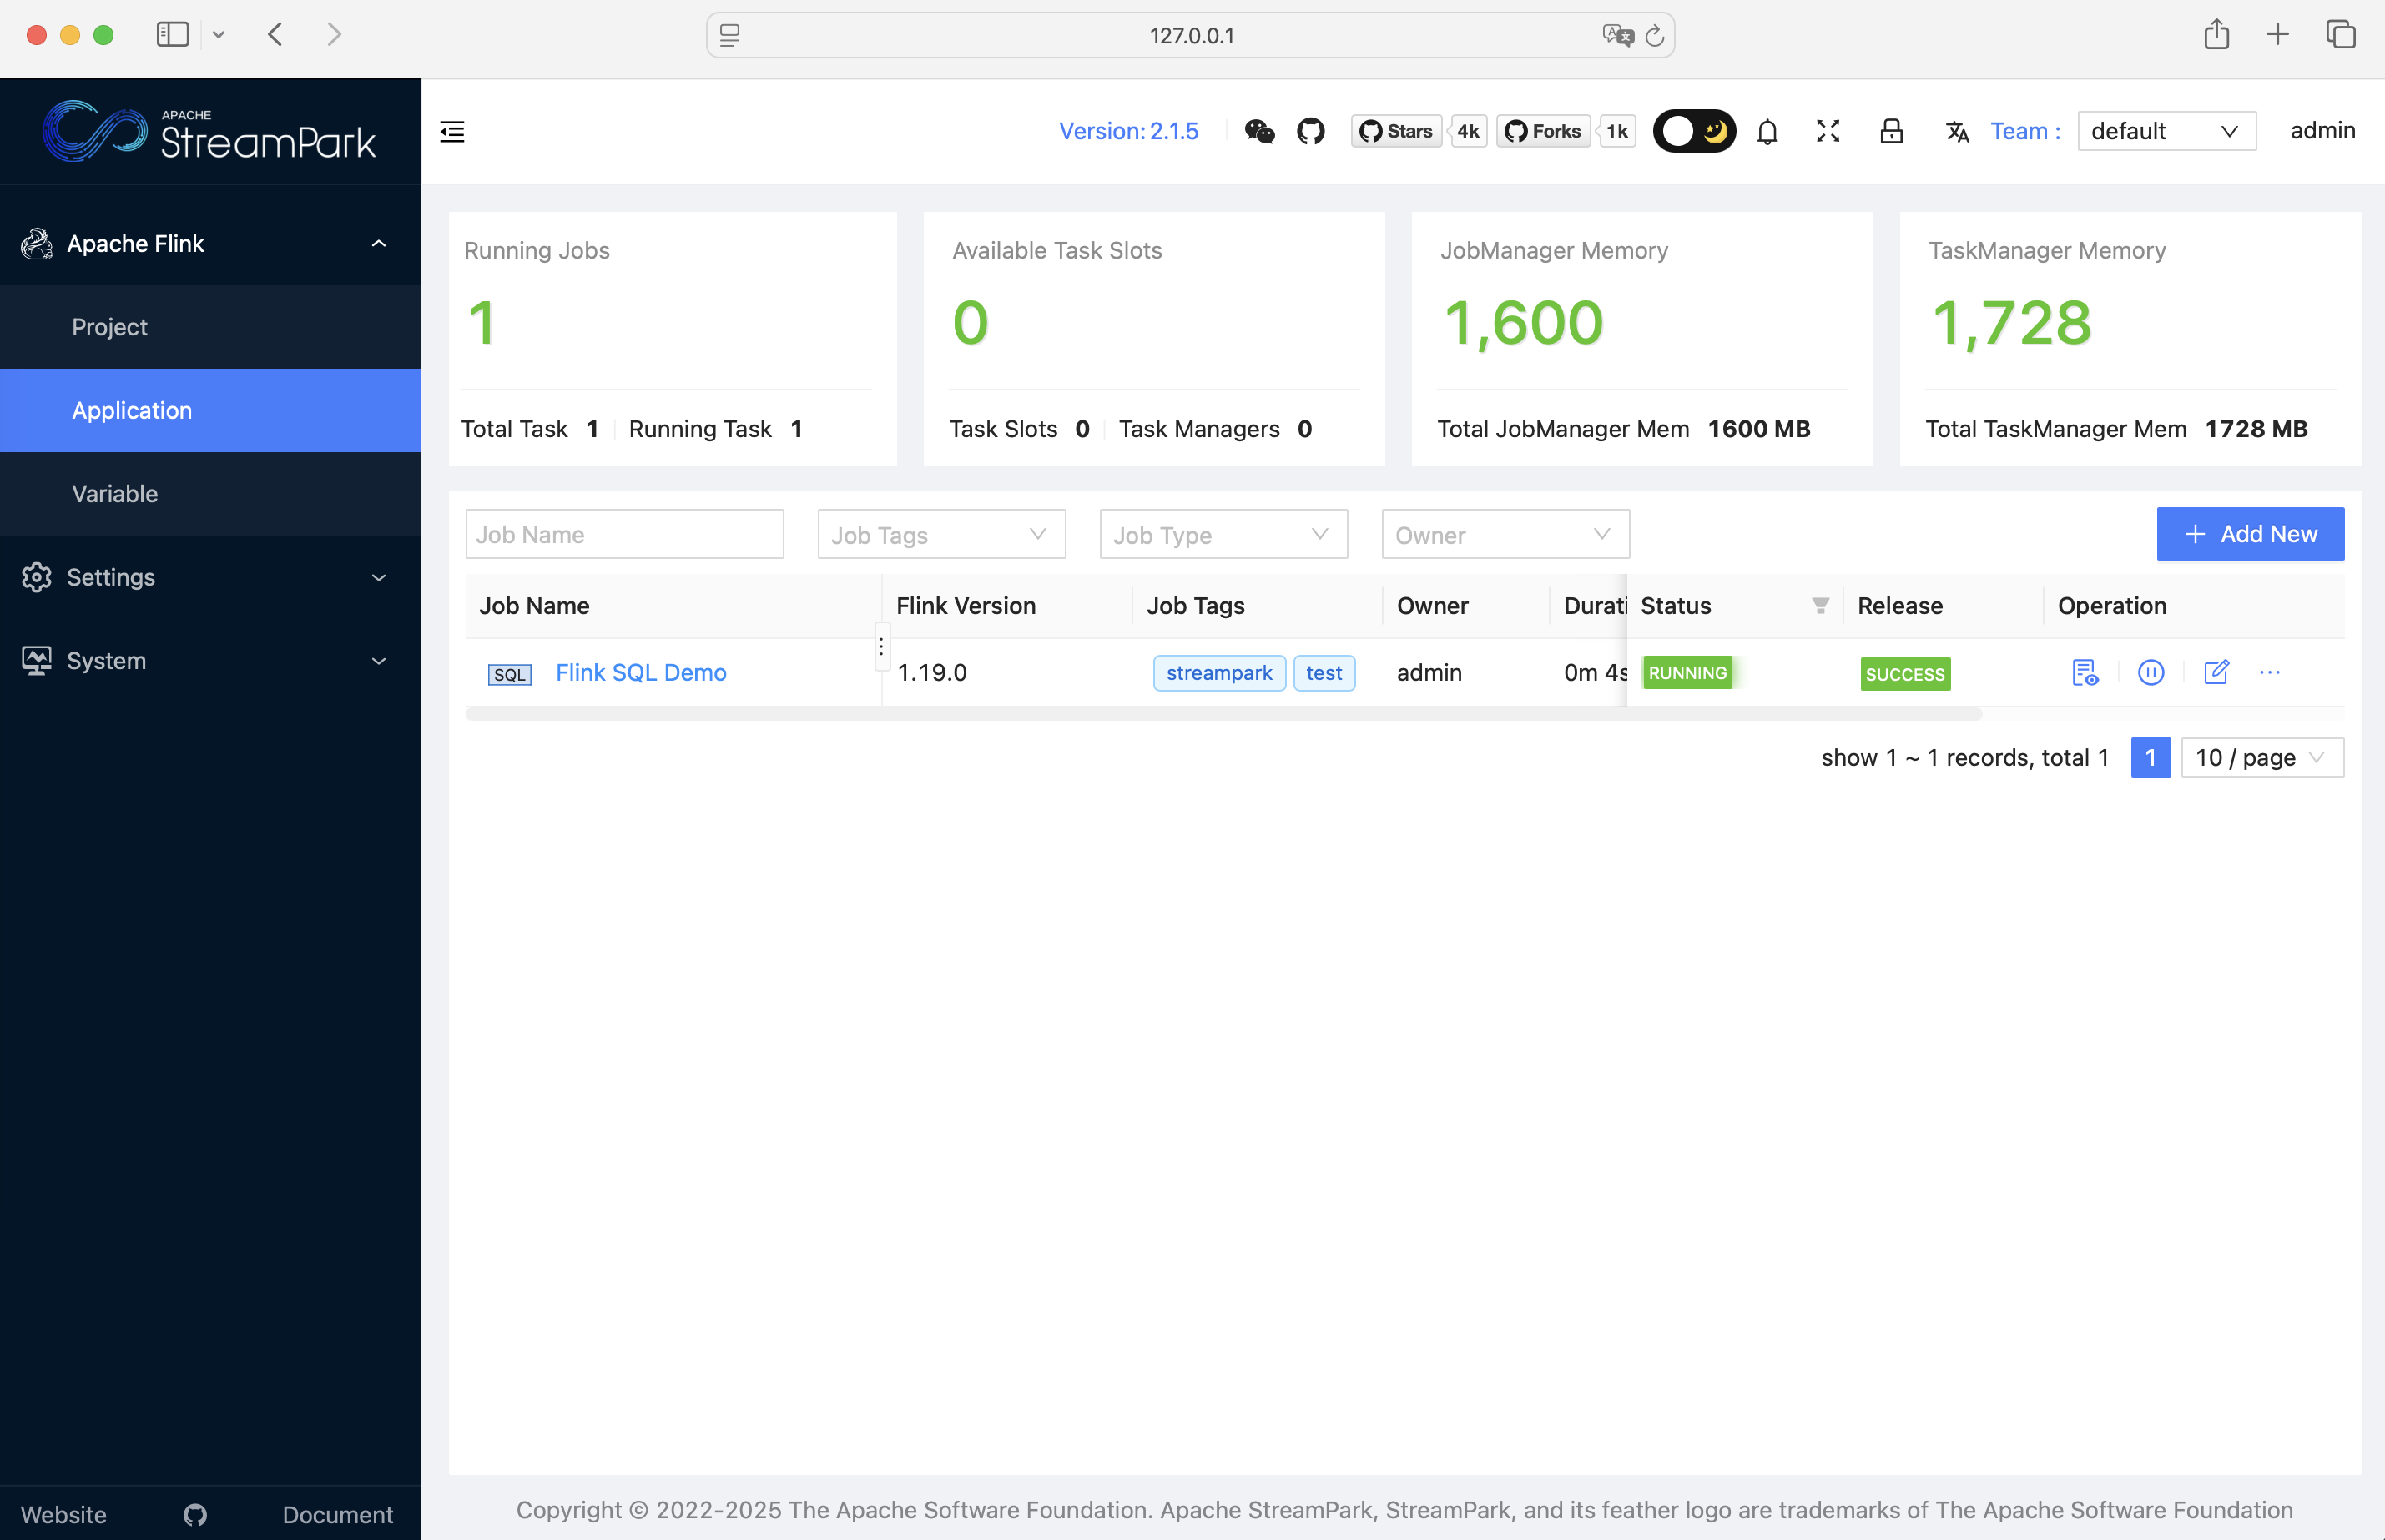
The page after a successful start looks like this:
You can also go to the details page to view job details:
Other features are not demonstrated here, but are worth exploring...
3. Possible Issues
If you encounter the following error:
ERROR: streampark.workspace.local: "/tmp/streampark" is an invalid path, please reconfigure in ...
You may need to directly create the streampark folder in the /tmp directory of your system or configure the streampark.workspace.local property in the /conf/config.yaml file with a valid temporary directory path.